Again, stuff like life kind of gets in the way of things occassionally. Other things like family sometimes need to be at the fore. So I haven't been as uptodate as I would like to be in the Tip of The Week.. so going to try to catch up today.
Since we are in the midst of a Forum Software Migration, I have been searching the How To Forum preparing for archival. This one popped up and tickled me brain. Even though it is an oldie.. I thought it was a good one :!: :idea: :big smile:
This weeks "Cub Tip of the Week" is courtesy of: :
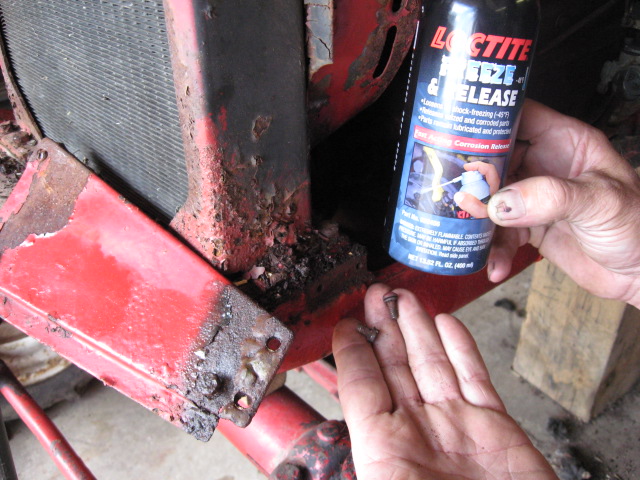
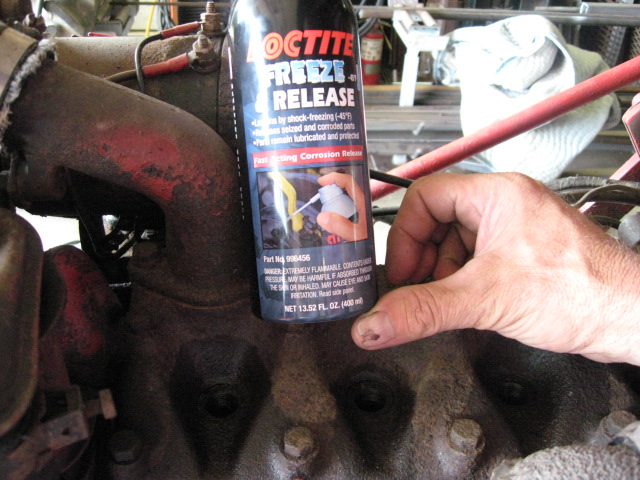
How To Clean Acid From Battery Terminals
Since we are in the midst of a Forum Software Migration, I have been searching the How To Forum preparing for archival. This one popped up and tickled me brain. Even though it is an oldie.. I thought it was a good one :!: :idea: :big smile:
This weeks "Cub Tip of the Week" is courtesy of: :
Dennis B Posted: Thu Jul 20, 2006 2:04 pm Post subject: How To Clean Acid From Battery Terminals
How To Clean Acid From Battery Terminals
Most of us hate handling batteries and battery cables corroded with acid. I have a method that I have used and works great and want to pass it on to the members. Maybe this has already been posted but here it goes. First I brush away any loose powdery acid with a old paint brush. Removing the battery works best from here on. Mix up in a container (cool whip for example) approximately one part baking soda and four parts hot water (more or less). Take the cable ends and submerge them in the solution. Immediately it will start foaming and bubbling like mad. Keep the end in until it stops bubbling which means the acid is all off the end. Pull it out and it will look like new. Rinse with clean water and your done. If the cable can't be dipped you can use the paint brush and just brush it on till it's clean. Make sure to caught any drippings so you don't have a mess all over. You can also clean the battery box with this solution and also the top of the battery. Just rinse everything with clean water and your done.


")

