cjet69
501 Club
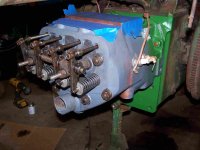
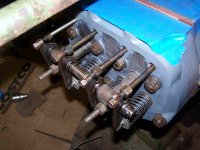
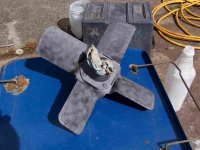
Decided to pull the steering shaft/box and the dash pod to make it easier to clean up and bolt down the shifter and crankcase covers. Installed the oil pump.
I've seen a couple carbs that had that happen. They make repair kits for them but some get destroyed beyond repair.You're lucky you've got a good carb. Up here in the great white north what usually happens is water finds it's way into the carbs float bowl, freezes and pushes the bowl off of the stem that the big nut goes on. The point of failure is always the stem. It breaks off even with the top of the nut rendering the carb useless.
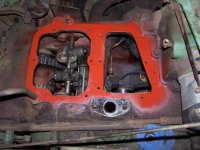
Good to get a break once in a while.Found my long drills to run through the passages and shot some quick drying primer on it. Looked through my supply of parts and found the gasket kit and main jet spring so I should have everything on hand to put it together.