Hi,
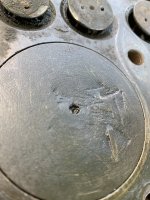
It looks like a foreign object was in the cylinder, hitting on top of the piston.
I was wondering why you took the head off, if the engine has good compression, and good oil pressure, and ran well, it may have been ok the way it is.
A compression test would have shown how the compression is.
Here is info about putting head on a Cub engine.
Clean the head well, and check it with a straight edge, and see if the bottom of it is flat. If it is warped, it should be flattened at an engine shop.
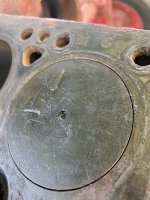
Check the head and block for cracks. They can be small.
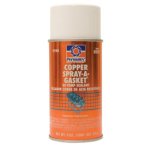
The people on here like to use Permatex Copper Spray on the new head gasket, before putting the head on the engine. It helps it seal well. Spray both sides of the gasket, just as you are going to put it together, and put the head on before the Copper Spray dries.
Use an even application of the spray on the gasket. Practice a little on some flat metal, if you have never used Copper Spray before. I think they sell it at NAPA.
When you put it together, the head bolts should have NON hardening sealer put on the bottom 1/2" of the threads before putting them in. The bolts go into the water jacket, and water can run up the bolt threads without sealer. tst has said this on here too, he rebuilds many Cub engines.
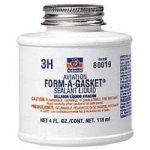
I use Permatex Aviation Form A Gasket, it is a non hardening liquid. It comes in a small can. They have it at NAPA here in the west US. If you buy one, stir it well, before using it, it can settle in the can sitting.
Before putting the head on, I would turn all the bolts in the holes by hand, without the sealer, and be sure they turn easily. Then remove them.
They have to turn easily to get an accurate torque reading. Use a tap in the holes to clean them, if needed, and a die on the bolts, if you didn't buy new bolts.
When it is together again, I would wait a day before putting coolant in the radiator and engine, it will let the sealers dry some. Don't run the engine without coolant in it. Good luck.
")