George Willer
501 Club
I don't recall anyone posting a how-to on this subject, so here goes, using a method that works well for me.
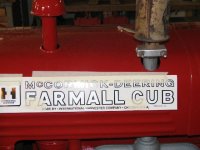
Here's a decal that is held in place by a "hinge" of masking tape. All outside material has been separated from the graphic using straight edges and a SHARP X-acto knife. The masking tape holds the cut-away parts in place so the decal as a whole can be placed exactly where I want it.
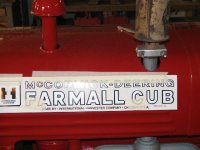
The backer has been removed from the IH logo and it was put in place. The outside has been removed for clarity.
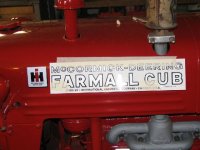
Here's the main part ready to have the backer removed.
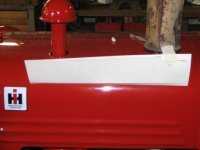
The backer is still there, but part of the outside has been removed.
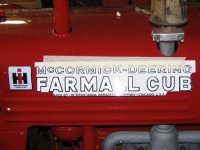
Done! Barney doesn't look nearly as nekkid now!
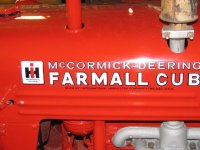
IMHO, the tape helps to get the decal exactly where I want it, and helps me forge ahead confidently. This method eliminates any need to slide the decal around.
Here's a decal that is held in place by a "hinge" of masking tape. All outside material has been separated from the graphic using straight edges and a SHARP X-acto knife. The masking tape holds the cut-away parts in place so the decal as a whole can be placed exactly where I want it.
The backer has been removed from the IH logo and it was put in place. The outside has been removed for clarity.
Here's the main part ready to have the backer removed.
The backer is still there, but part of the outside has been removed.
Done! Barney doesn't look nearly as nekkid now!
IMHO, the tape helps to get the decal exactly where I want it, and helps me forge ahead confidently. This method eliminates any need to slide the decal around.