
Between helping my daughter move (for the 8,748th time!
For me the first step was soaking the whole thing in the parts washer for a week, so that all the crud would come off easily. Then, I disassembled it according to the shop manual instructions. I'm not showing that here, since you'll see how it comes apart by seeing how it goes back together...only in reverse.
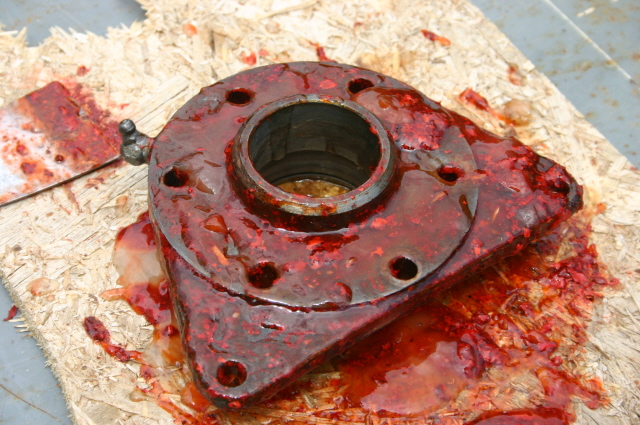
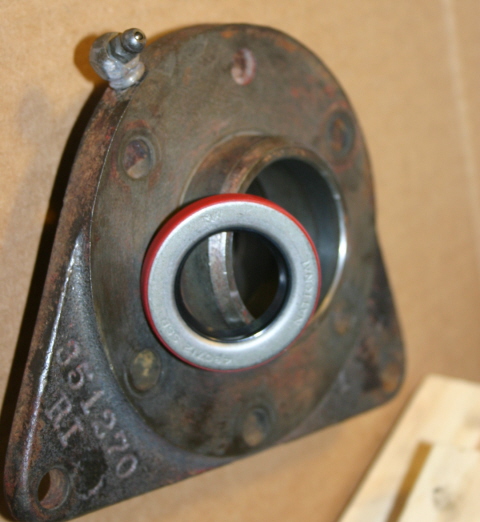
While all the parts are off, I cleaned up the bearing carrier real good, removed the old seal and bearing, and doused it down real good with paint stripper:
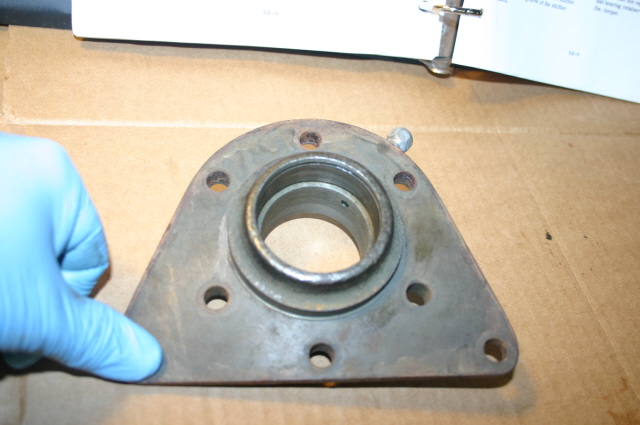
After the paint stripper does it's work, a few minutes under a pressure washer and a bunch of compressed air, the bearing carrier looks like this. This is the side the bearing is pressed into, and you can see the grease zerk and the hole where the grease feeds into the carrier:
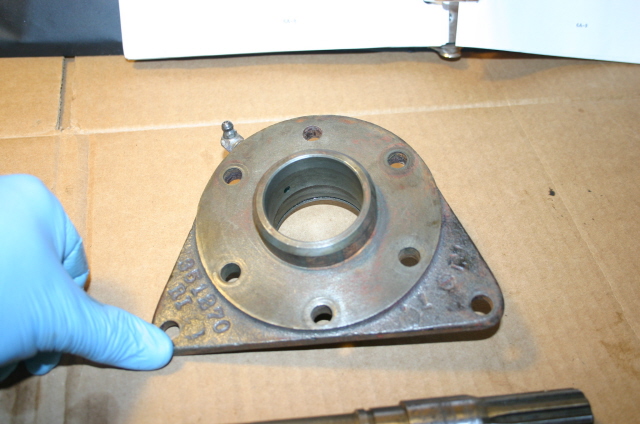
Here's the side the seal is pressed into. Mine had an old-style seal with what seemed like a leather collar about 1/2" deep into the housing.
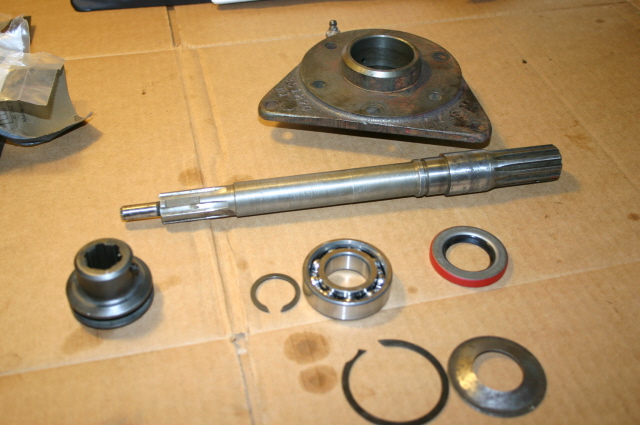
Here are all the replacement parts laid out. Just the bearing, retaining ring and seal are new; and I cleaned up the grease cup, its retainer, the shift sleeve, and the shaft.
First I pressed the seal into the outside of the carrier:
If you don't have a press, use a nice big flat piece of wood and tap it in uniformly, like I did:

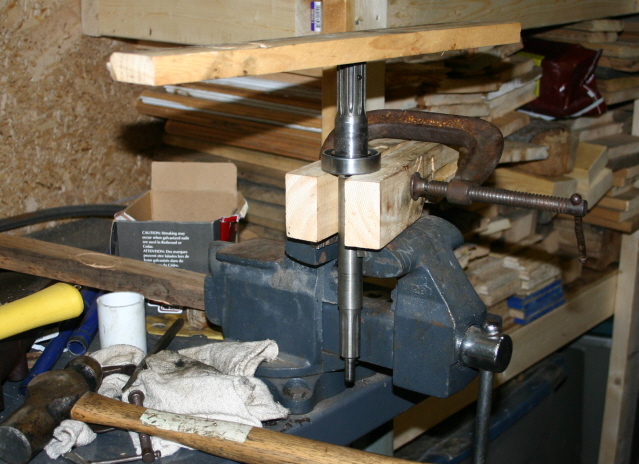
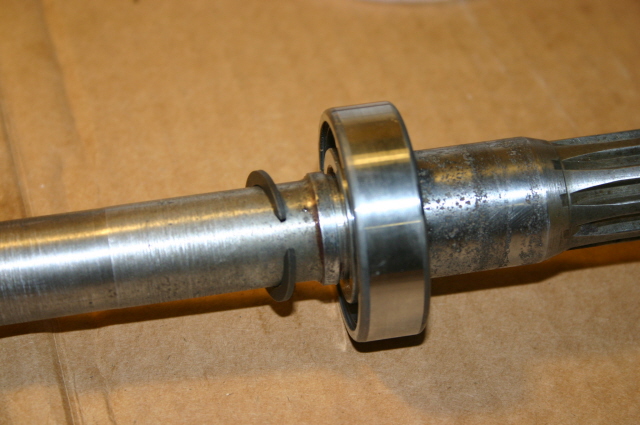
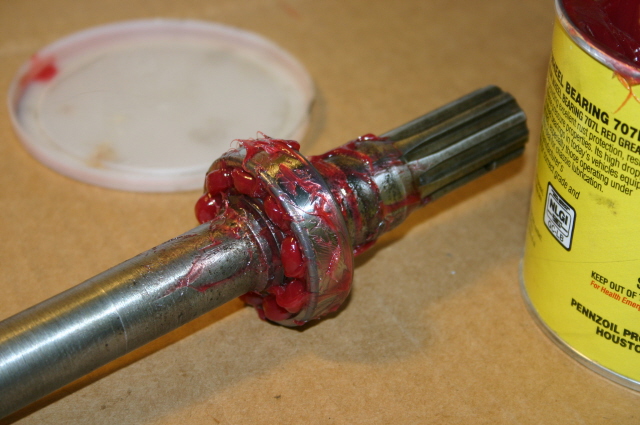
Then, install the bearing onto the shaft. I used a piece of wood to distribute the hammer pressure and avoid damage to the shaft:
And install the retaining ring:
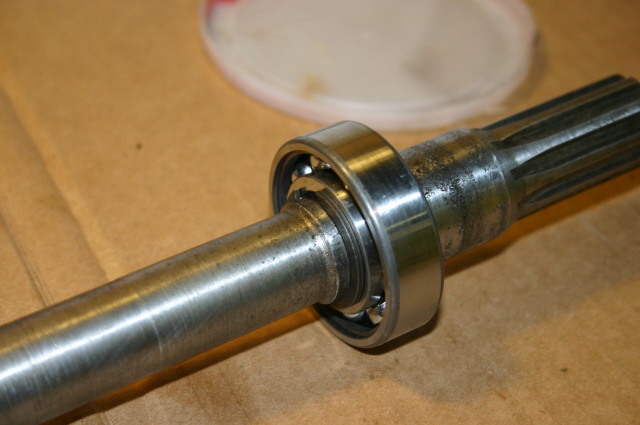
Be sure to pack the bearing with high quality grease before you install it into the carrier:
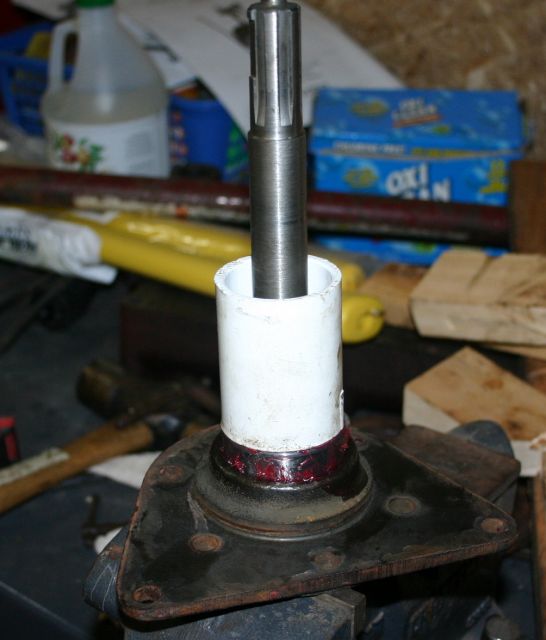
Then, flip the carrier over and press the bearing/shaft assembly into the carrier. I used a 1-1/4 pvc pipe sleeve to distribute the hammer pressure and avoid damage to the bearing:
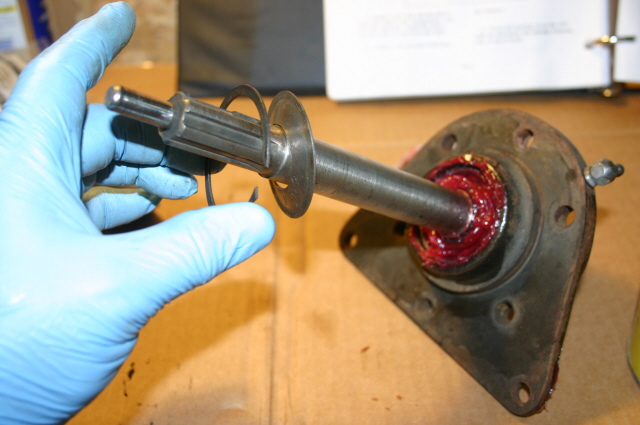
Next comes the grease cup and its retaining ring:
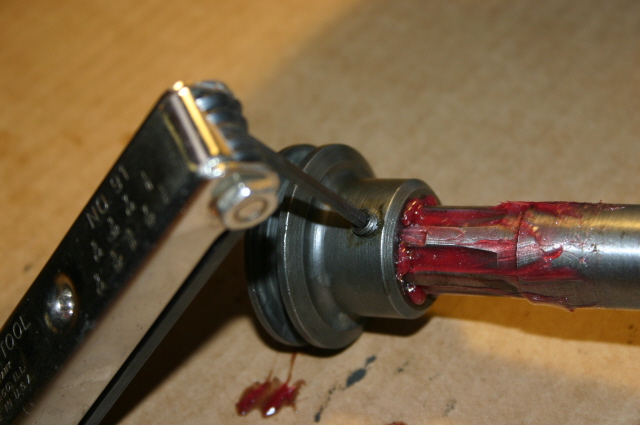
Then you install the shift sleeve onto the long end of the shaft, and be sure to align the set screw on the milled-flat portion of the shaft.

Grease things up good, and only tighten the set screw tight enough so the sleeve will slide back and forth with the inside portion of the screw stopping in the milled-flat slot.
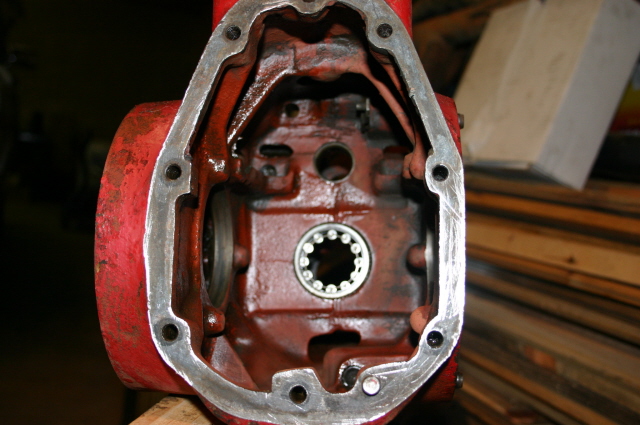
The next part is easier with help. Remove the top-fill plug of the tranny, (which you will use to see inside when you align the pto shaft and sleeve into both the brass bushing in the tranmission shaft, as well as the shift peg into the shift sleeve. Here's the view from rear of the diff housing, where you can just bearly see the shift peg in the upper-right of the case. Sorry about not having a picture with the diff case innards in place...I forgot to take one!) Believe me, the shift peg is easier to see from the fill plug hole on top:
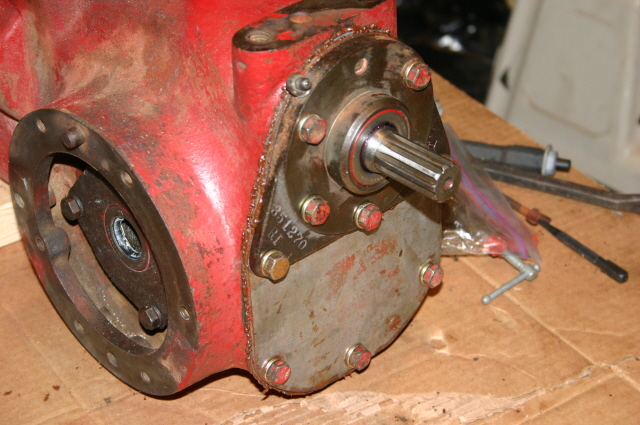
Before sliding the pto assembly into place, smear your choice of gasket goo on the diff cover gasket, (both sides), and on the pto gasket, (both sides). then slide it all into place, and bolt it all down to 35 ft-pounds of torque. (or as Kodiak says, just cinch it down good and tight, and don't ape 'em so tight you break the bolts!
This afternoon I got a high-speed angle grinder that holds those 4-1/2" twisted steel wire wheels. It works GREAT for polishing all the old paint off the cast parts! I primed and painted the right diff shaft tube, but I ran out of time (and energy!) to get pictures.
Hope this helps. Masters, if I've forgotten anything or you want to add some better description, pipe in!
Thanks, and good night!
Corky


