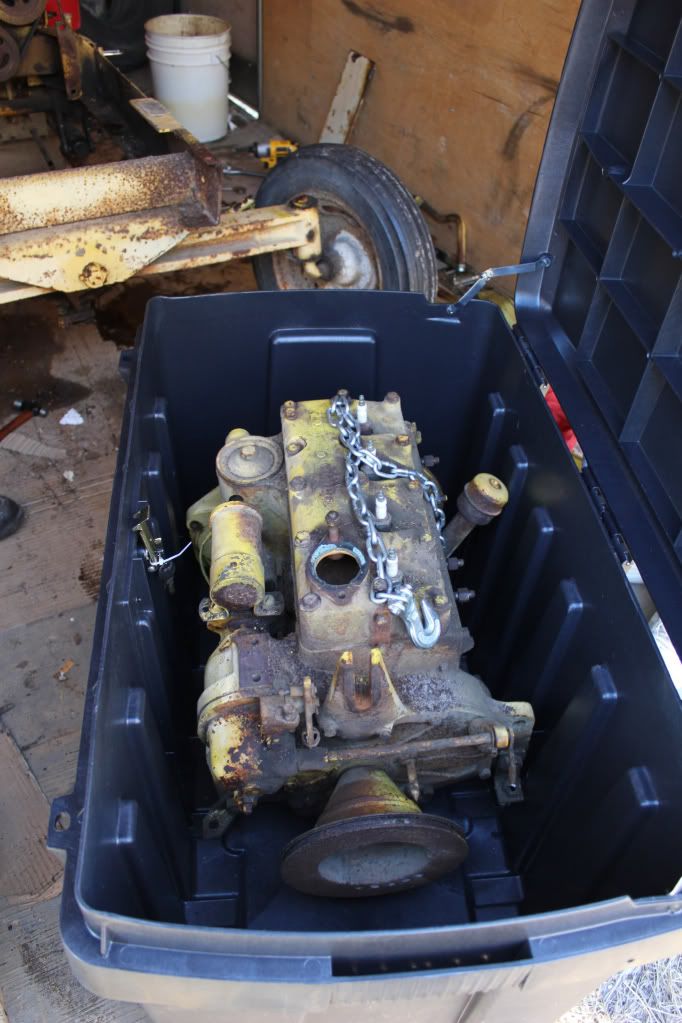
Shipping crate....
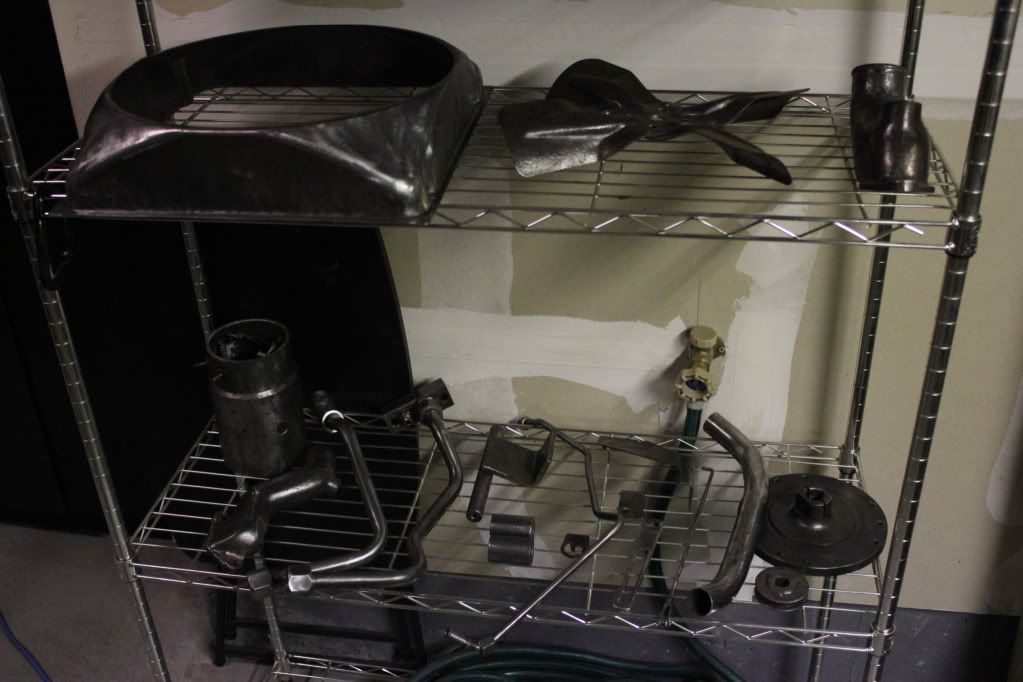
Parts cleaned and primed.....
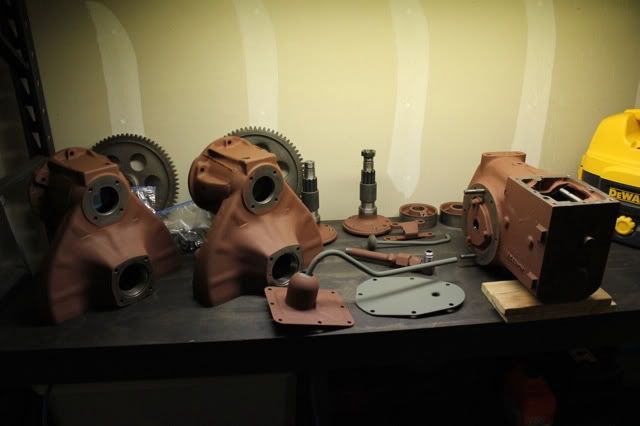
.....more parts cleaned and primed....
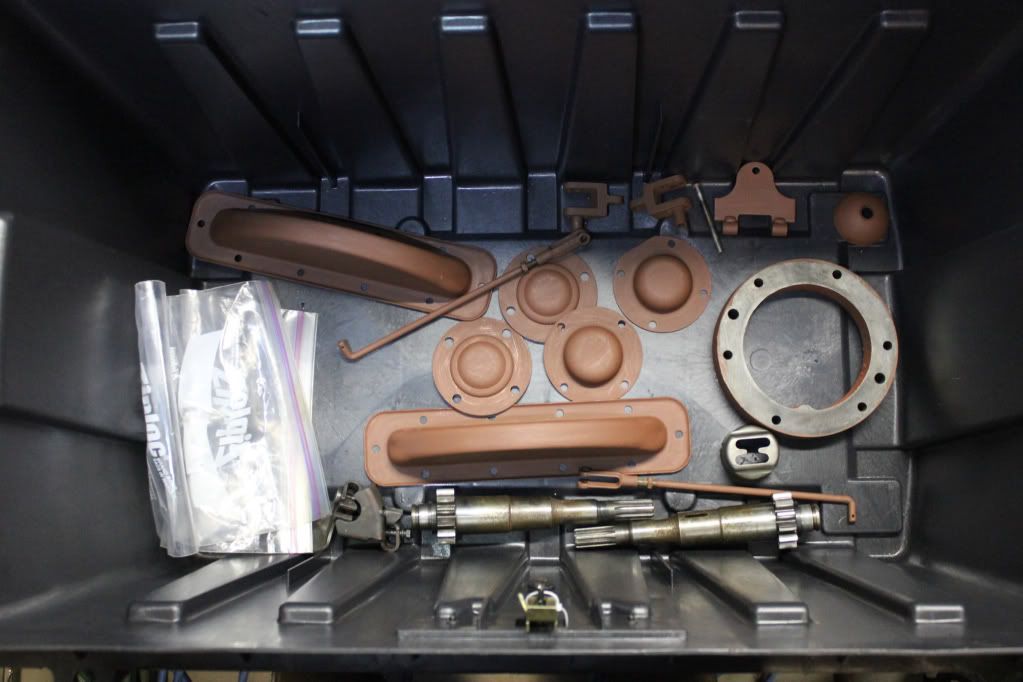
Parts ready for primer....
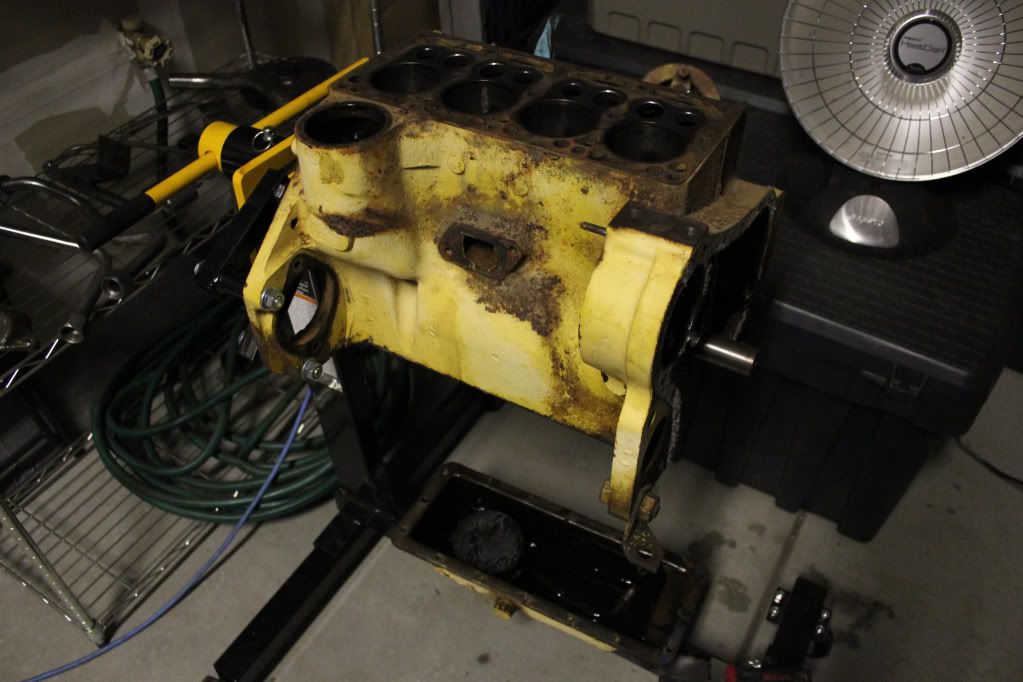
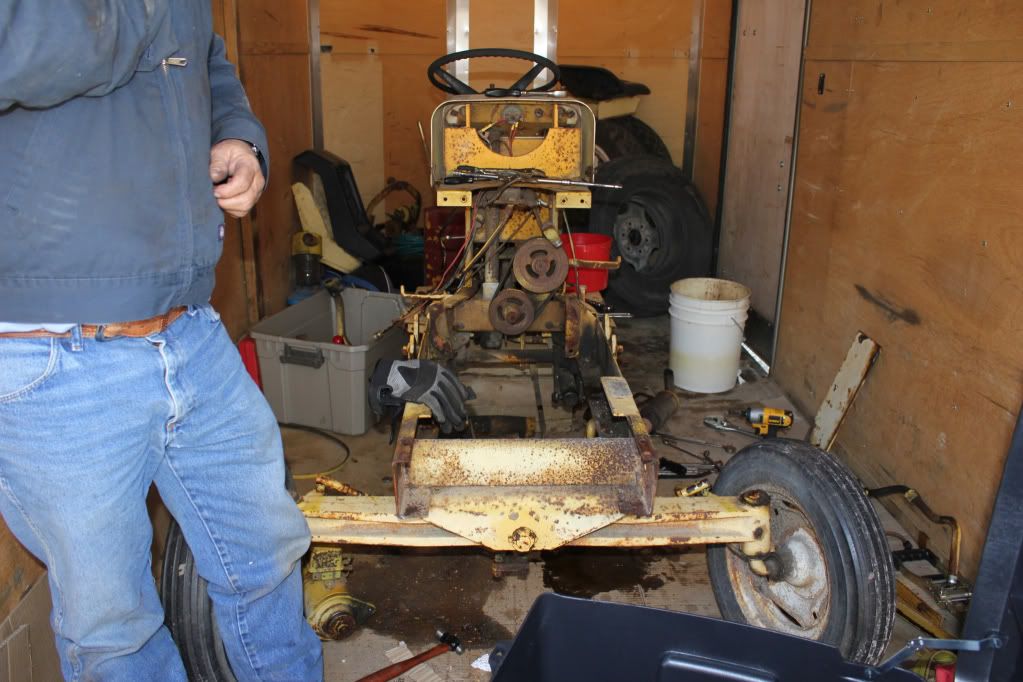
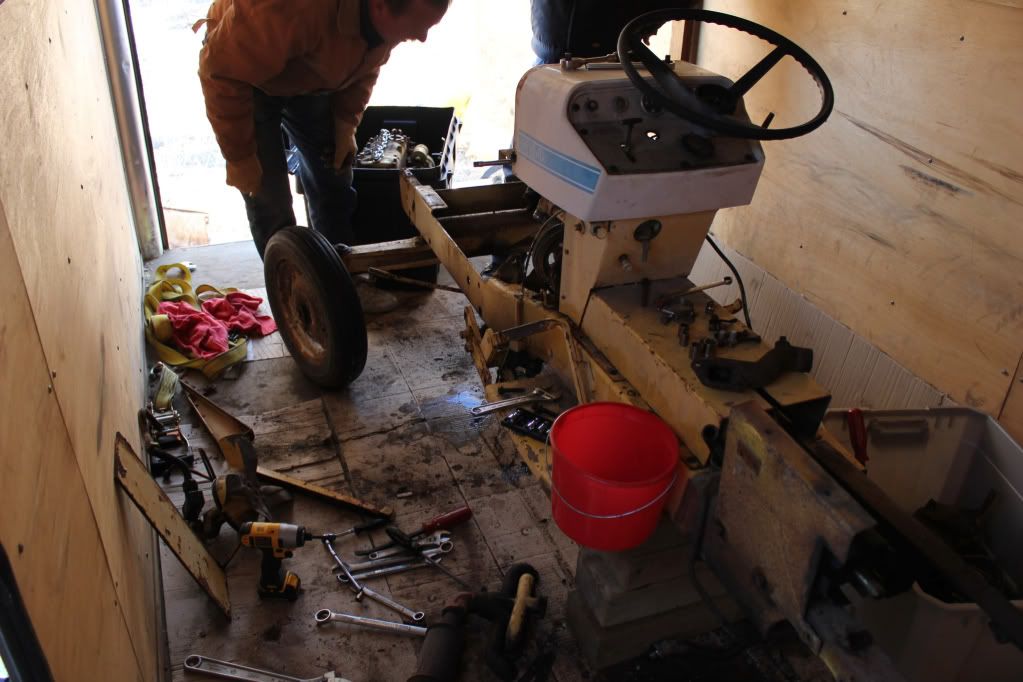
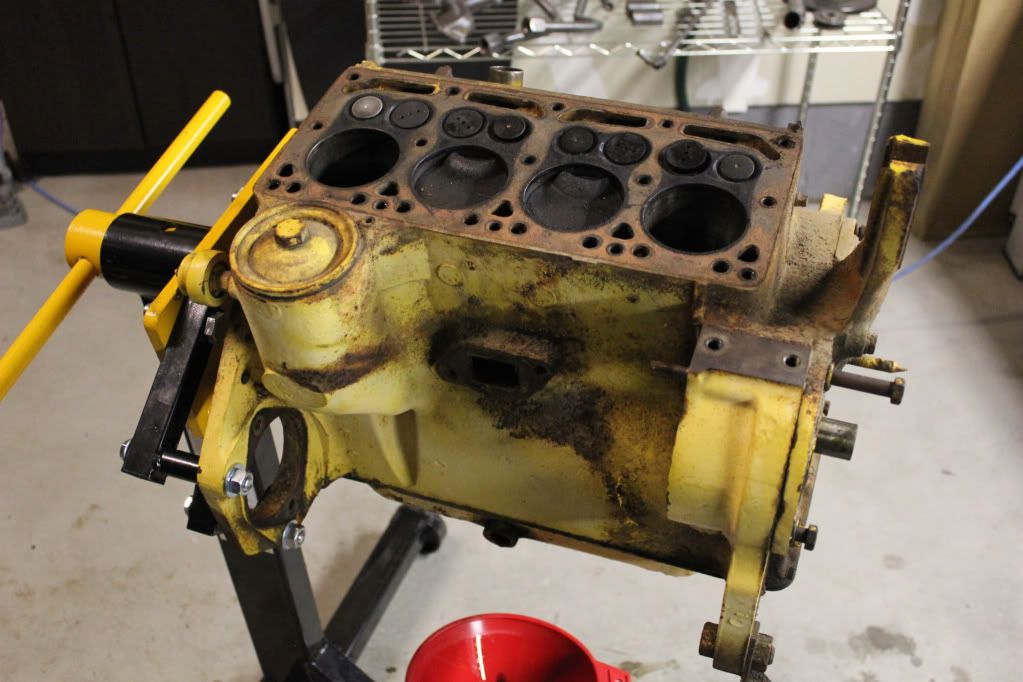
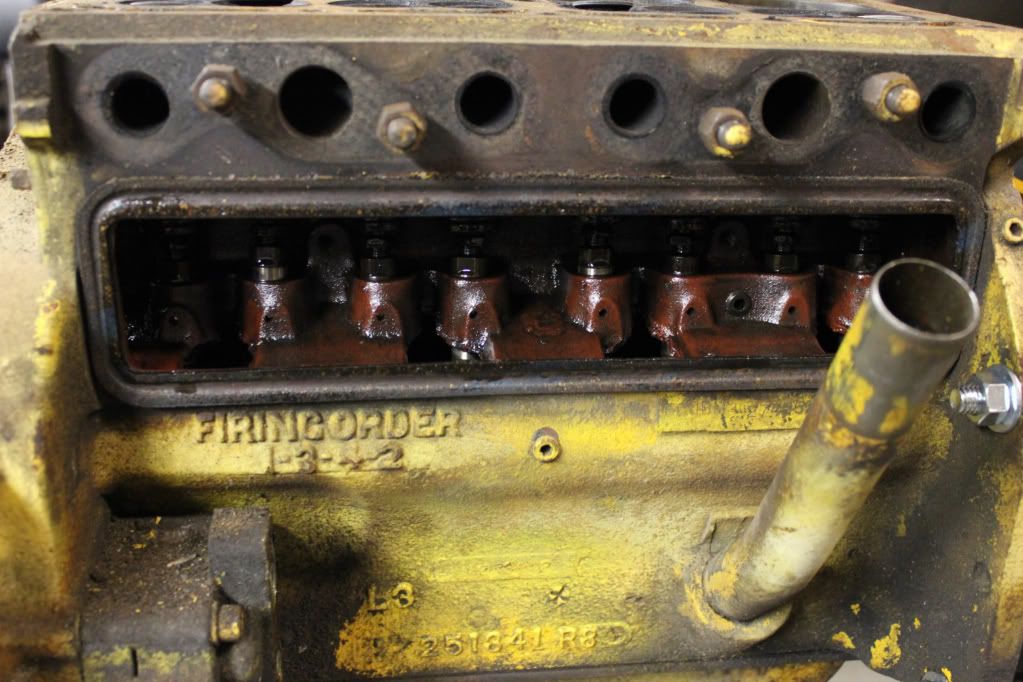
Ready for engine teardown.....
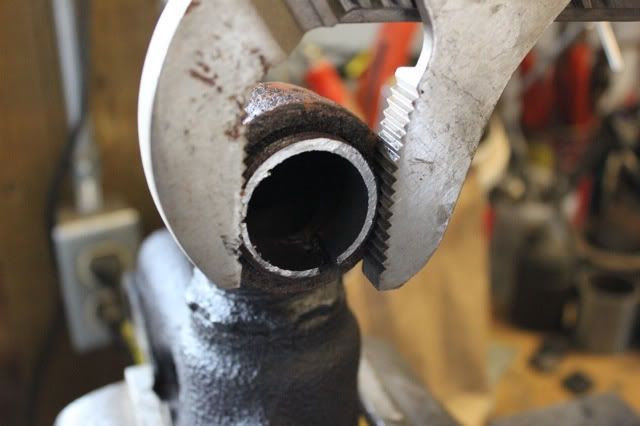
I believe #4 exhaust valve is getting hot....
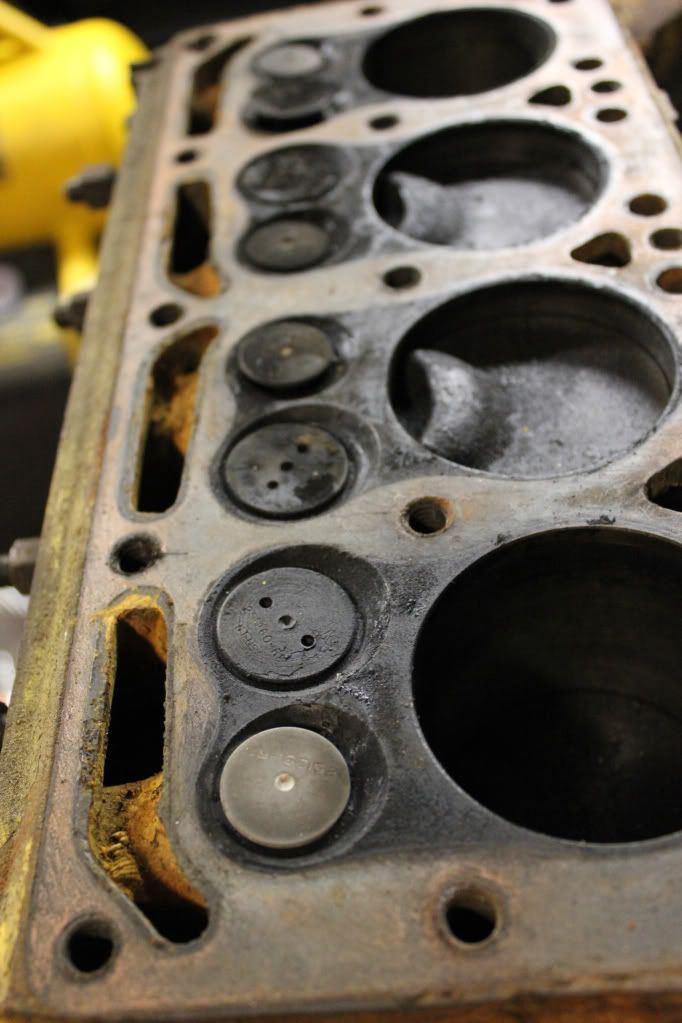
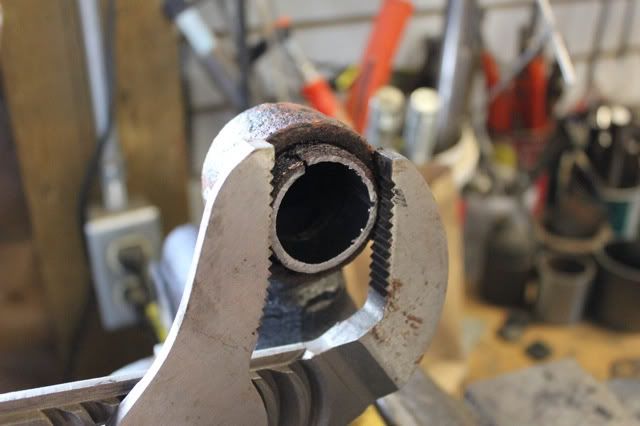
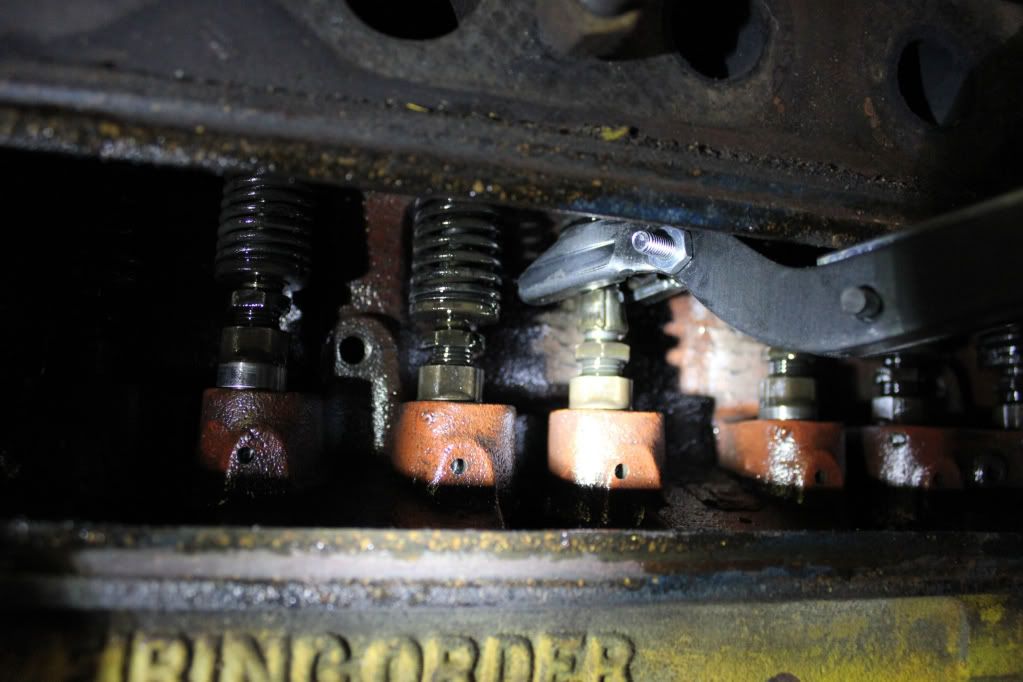
Not too nasty in there....
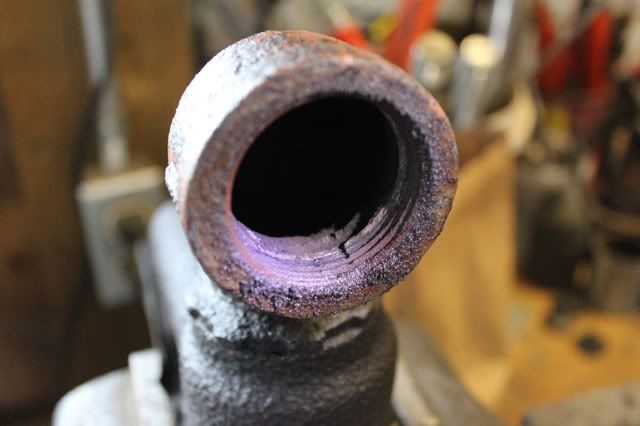
Still not too bad.....

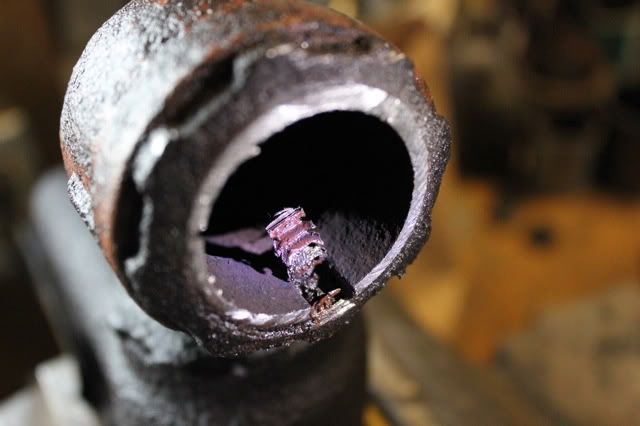
Pulling the valves....
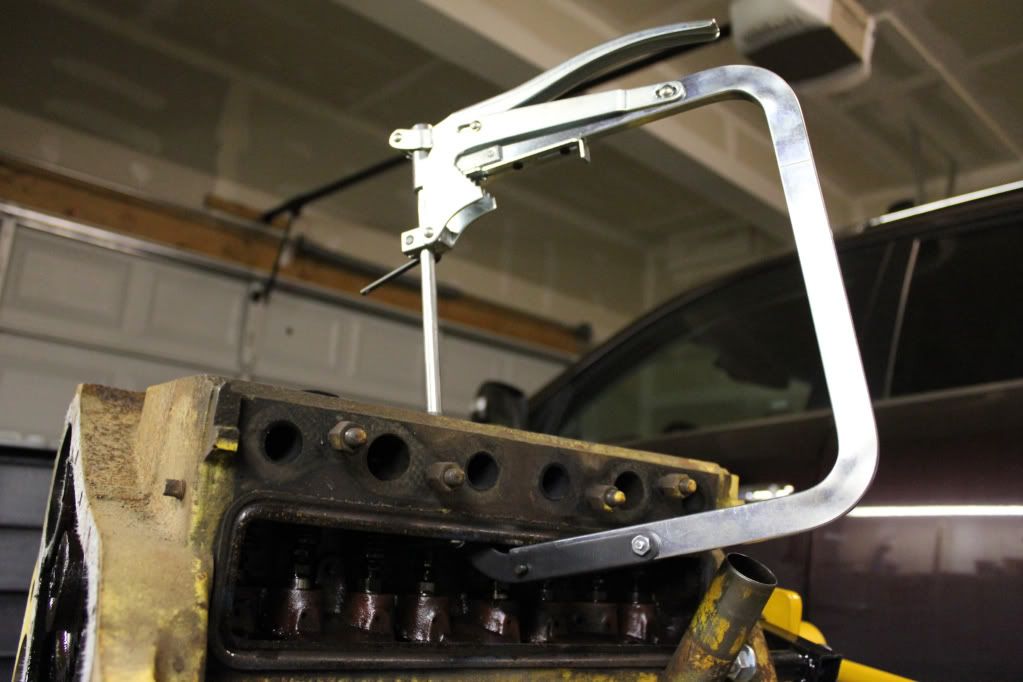
Works slick....
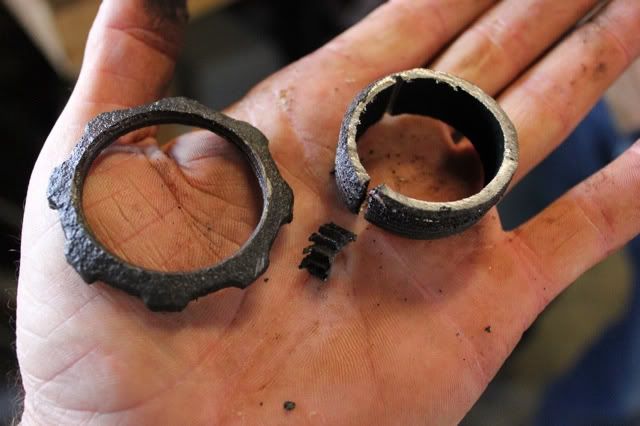
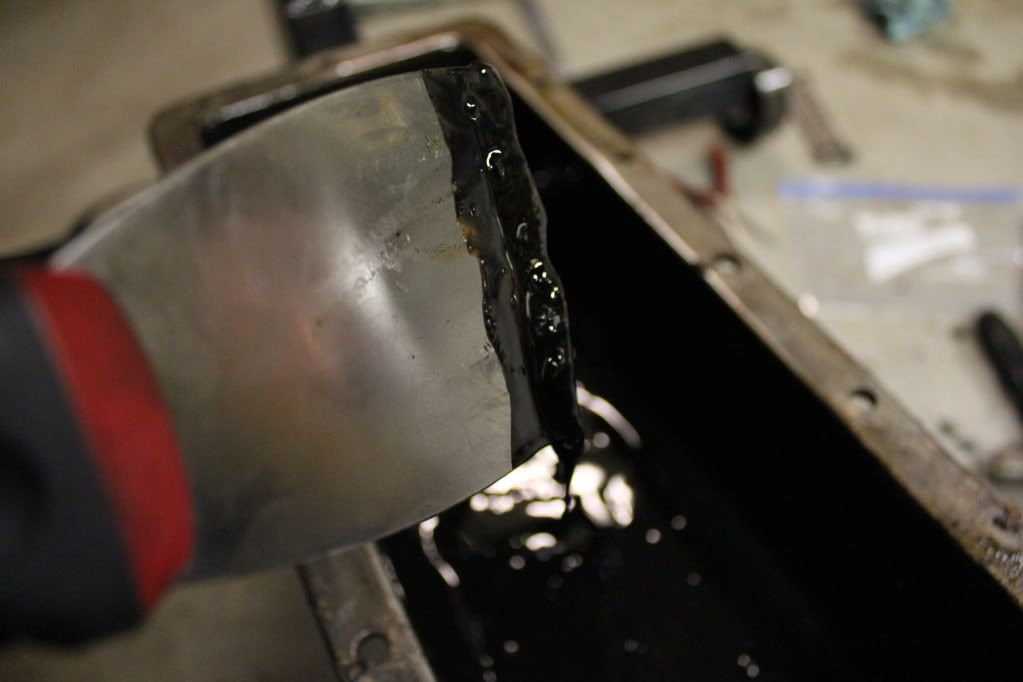
Ok, this is nasty....
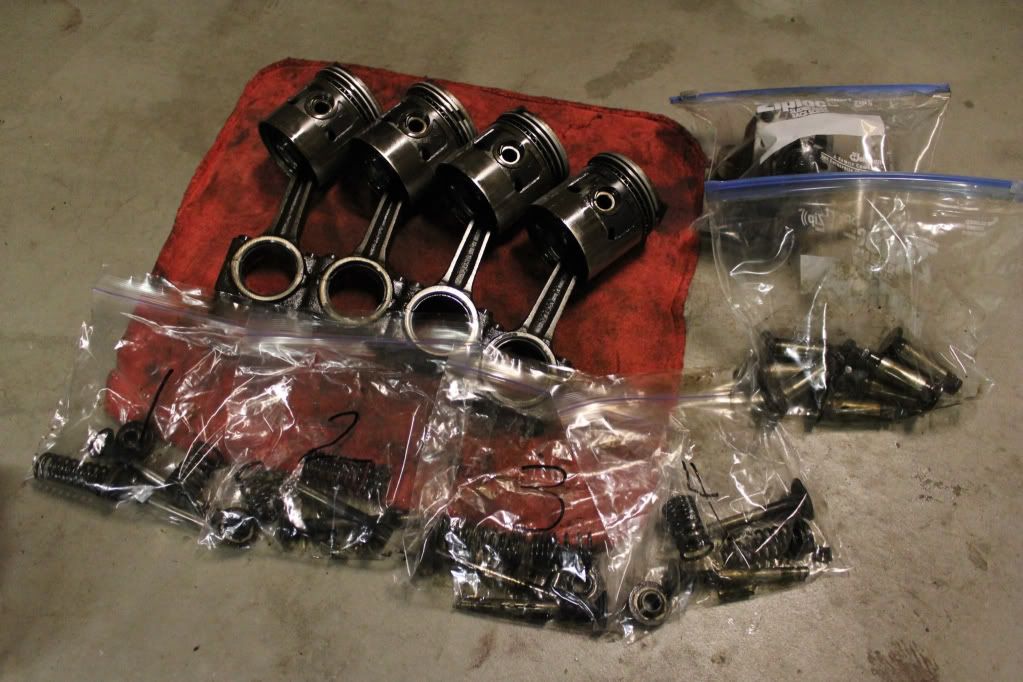
Valves, tappets and pistons removed and organized... Standard bore and standard bearings....
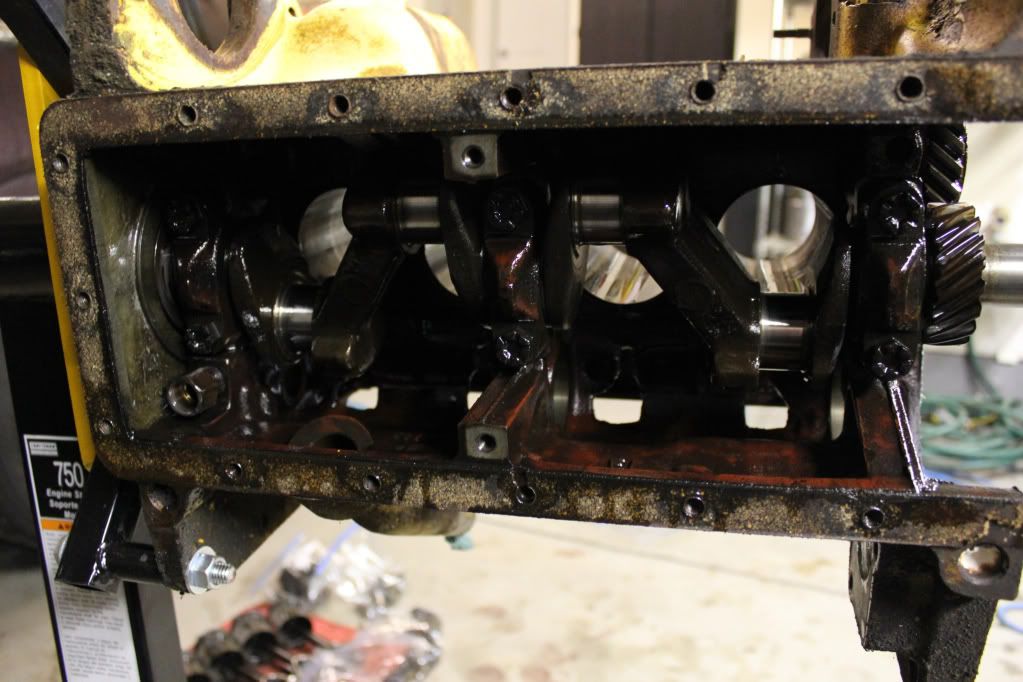
At least there is no sludge built up on the crankcase walls....
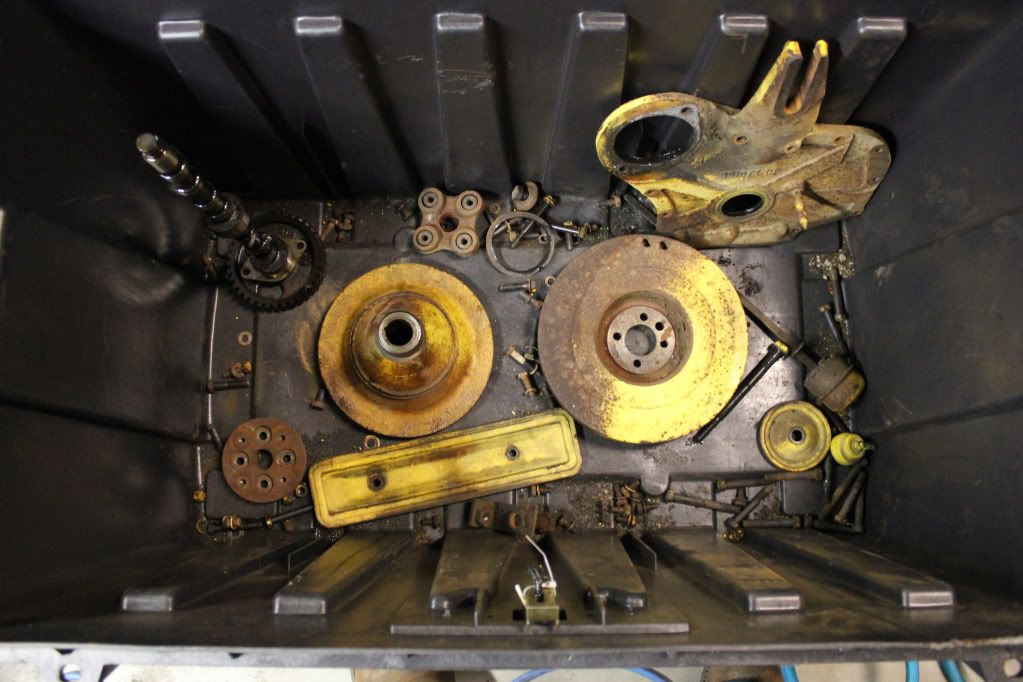
Parts to be cleaned bin is filling up....
Done for the night....