The very first thing is to buy a length of 2"x 3/8"thick flat-stock. A pair of tie-downs requires 43" of material. Each piece is cut at 21 1/2" long. Here's the first pic of a batch all cut with the sharp edges removed by the drum/disc sander.
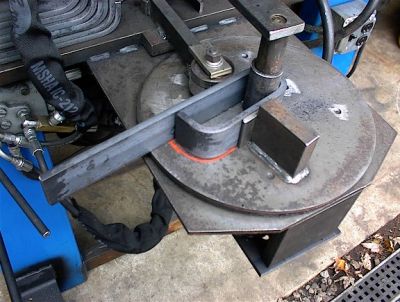
The next step is to place each piece onto the turn table. These tie-downs use an 1-5/8" diameter curve to form the shape. I built the "ELMER-2" with a center pivot shaft of 1-3/16", which is what the steps use for the top hook. This way all that needs to be done to bend the tie-downs is drop this piece of pipe over the center shaft to create the 1-5/8" bend. I also have another special made bracket that allows a short bite onto the material.
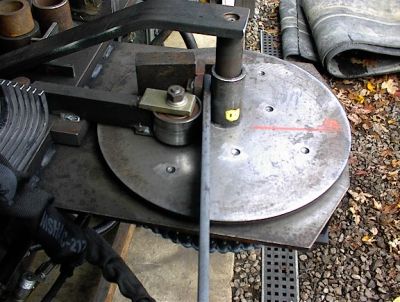
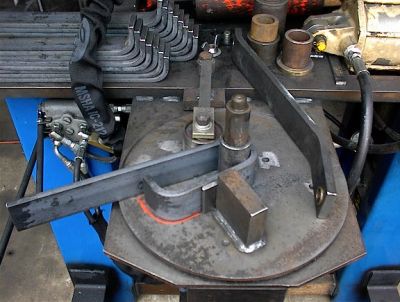
The next step is to bend each piece around till they reach the "orange" paint line drawn on the turn-table. This line stops each piece at the 90 degree bend needed.
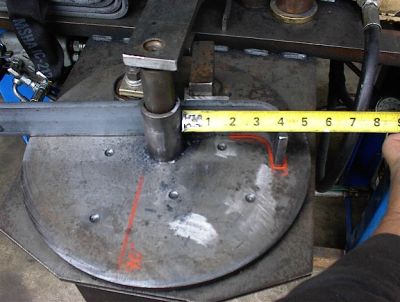
Here's all the pieces with the bend on the ends.
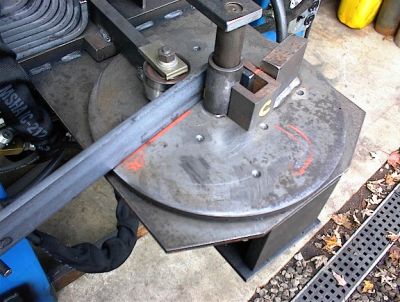
Now I slide each piece through until they line up with the orange painted curve on the turn-table. If you're careful to place each piece exactly at the same spot, all the bends match near perfect.
Each piece is bent completely around the center post till it touches itself.
This next step is for you drspiff :shock: Soon as you release the pressure and back the table up slightly, you remove the top brace. This brace is needed because of the muscle needed to bend this thick material around the tight diameter. Then you simply remove the tie-down.
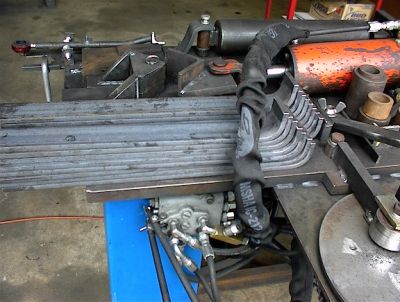
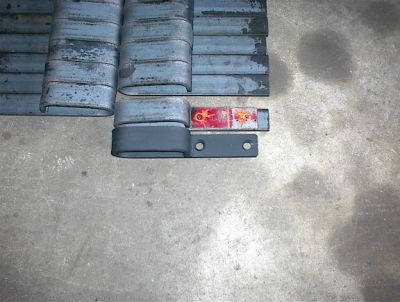
Here's 8 sets ready for welding.
Each tie-down is squeezed tight together and welded. Then I have a template that clamps on each piece to pilot drill the spacing for the implement bolts. A heavy chamfer is added and the extra material cut off the end to get things exact.
These used to be the hardest product to bend, and after you were finished, you called it a day. Now with the "Elmer 2", these are fun
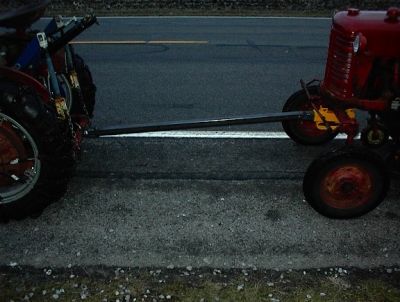
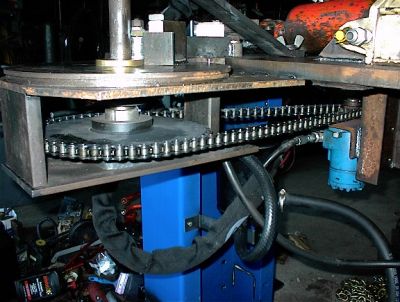
Here's an under shot of the "Elmer 2" showing the blue hydraulic motor driving the big sprocket.
Thanks,
Rick
This site uses cookies to maintain login information on FarmallCub.Com. Click the X in the banner upper right corner to close this notice. For more information on our privacy policy, visit this link: Privacy Policy
NEW REGISTERED MEMBERS: Be sure to check your SPAM/JUNK folders for the activation email.
How To Make One Piece Tie-Downs
-
- Team Cub Guide
- Posts: 5636
- Joined: Mon Nov 01, 2004 7:24 am
- Zip Code: 43528
- Tractors Owned: 47(circle cub),48(Floyd backhoe),49,,51,54 and another 55
- Circle of Safety: Y
- Location: OH, Holland
-
- Similar Topics
- Replies
- Views
- Last post
-
-
Exactly what might this piece be. Attachment(s)
by Dan Stuckey » Sun May 08, 2022 2:39 pm » in Lo-Boy Series - 154, 184, 185 - 2
- 285
-
by Dan Stuckey
Sun May 08, 2022 3:55 pm
-
-
-
How to Make Your Own Gaskets Attachment(s)
by Stanton » Sun Jul 03, 2022 8:52 am » in Miscellaneous Ideas - 0
- 1195
-
by Stanton
Sun Jul 03, 2022 8:52 am
-
-
- 24
- 733
-
by Stanton
Sun Jul 24, 2022 3:26 pm
-
- 6
- 475
-
by Don McCombs
Sat Jan 13, 2024 10:38 pm
-
-
Did Anyone Ever Make a 4ft Pull Behind Brush Hog? Attachment(s)
by southern-jim » Mon Aug 01, 2022 7:32 am » in Other Tractors and Machinery - 22
- 1501
-
by SONNY
Wed Nov 30, 2022 12:00 pm
-
Who is online
Users browsing this forum: No registered users and 1 guest