This site uses cookies to maintain login information on FarmallCub.Com. Click the X in the banner upper right corner to close this notice. For more information on our privacy policy, visit this link: Privacy Policy
NEW REGISTERED MEMBERS: Be sure to check your SPAM/JUNK folders for the activation email.
51 Cub project
Forum rules
Notice: For sale and wanted posts are not allowed in this forum. Please use our free classifieds or one of our site sponsors for your tractor and parts needs.
Notice: For sale and wanted posts are not allowed in this forum. Please use our free classifieds or one of our site sponsors for your tractor and parts needs.
-
itpdk9
- 5+ Years

- Posts: 35
- Joined: Fri Jan 01, 2016 8:43 pm
- Zip Code: 15101
- Location: Pittsburgh, PA
51 Cub project
Hello all,
I have been looking around for quite some time and finally registered. Thank you for all of your help so far. I have been searching and reading and I figured I would just ask I am sure this has been asked and answered but I can't find it.
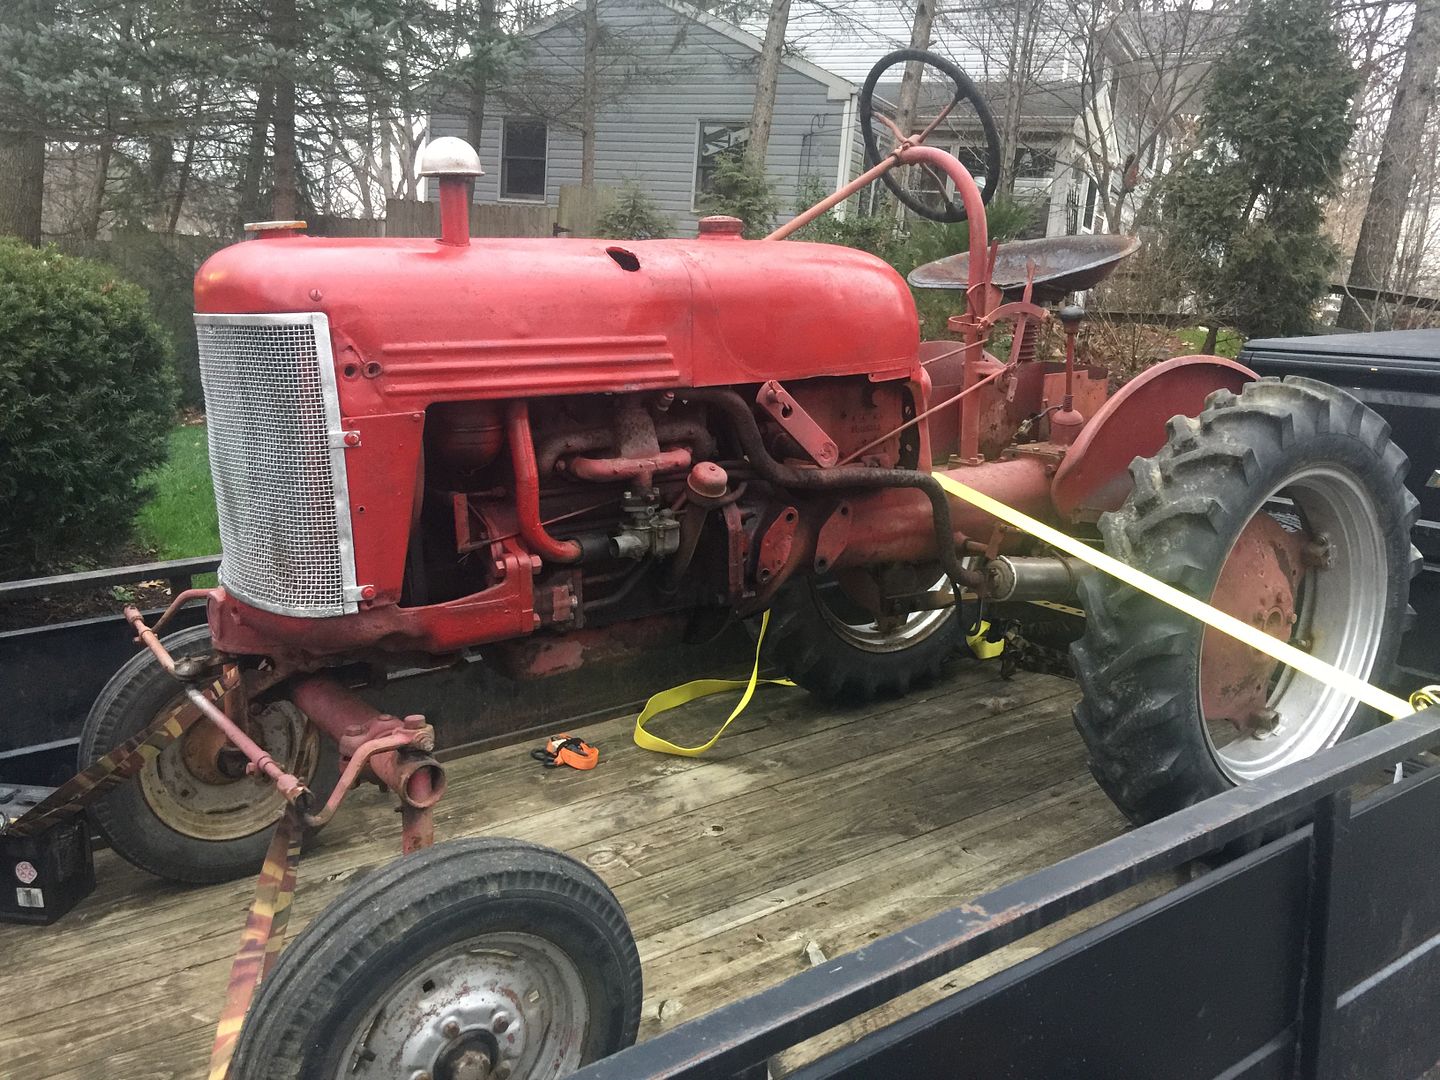
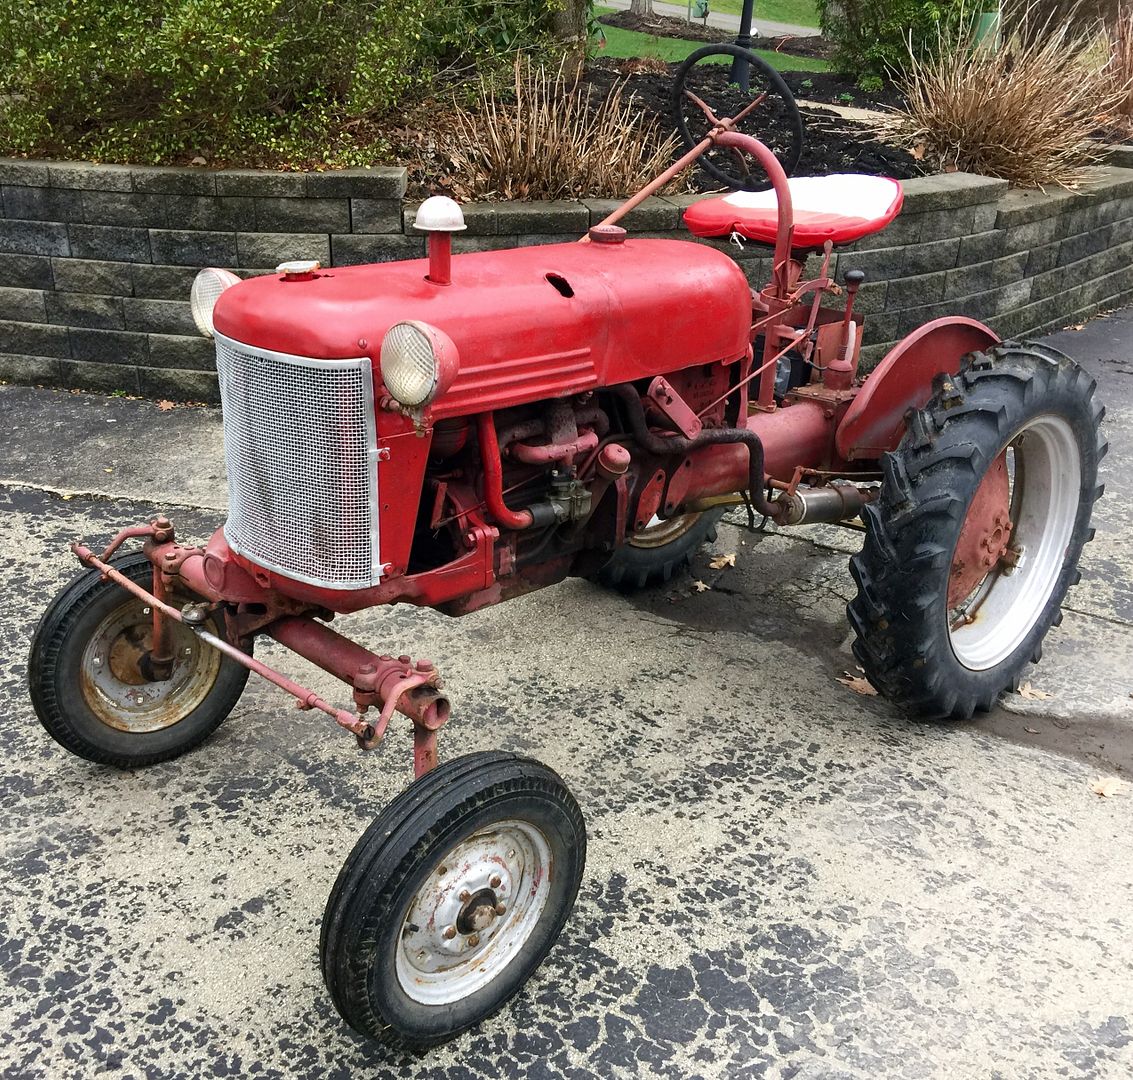
I just purchased my first cub, its a 51 that needs some TLC. From those that have repainted their Cubs, I have read, chemicals, flap wheels, sand blasting etc, Is it worth paying to have the Cub sandblasted and painted or is it worth the aggravation to prep myself. I am not a mechanic by any means but I know what a wrench and determination is and am willing to learn. I just don't want to waste a lot of time and money if I prep and its not to standard for the painting process. Does anyone know how much it would cost to have the Cub blasted and sprayed? Thoughts on this from you guys is greatly appreciated. Again I apologize as I am sure this has been asked and covered I just couldn't find it. Thanks again and thank you for having me.
Scott
-
Bob McCarty
- Team Cub

- Posts: 11851
- Joined: Tue May 25, 2004 8:02 pm
- Zip Code: 80501
- Tractors Owned: Cubs, MH Pony, Shaw, Allis G, 1934 Silver King, JD LA and LI, Gibson D, David Bradley Tri-Trac
- Circle of Safety: Y
- Location: CO, Longmont
Re: 51 Cub project
Scott, Welcome to the Forum. Sandblasting is not recommended unless it's on parts that can be removed and don't have seals or bearings in them (hood, fenders, seat, etc.). There is no practical and effective way to keep sand out of where you don't want it. The end result of your paint job will be determined by how well you prep, and the quality of paint you use. The first thing is to get the Cub running good and repair/replace any seals, gaskets, and bearings that are leaking or bad. Once that is done, the tractor is ready for paint. As you disassemble, you can prep, prime, and even paint parts before they are reassembled. Some guys use rattle cans, others have full protective gear and use auto quality paint with hardeners.
Bob
Bob
"We don't need to think more,
we need to think differently."
-Albert Einstein
we need to think differently."
-Albert Einstein
-
itpdk9
- 5+ Years

- Posts: 35
- Joined: Fri Jan 01, 2016 8:43 pm
- Zip Code: 15101
- Location: Pittsburgh, PA
Re: 51 Cub project
Thank you for the help it is much appreciated. The tractor is in really good running condition now. It does need a new front wheel seal as it is leaking. I am going to start by degreasing it this week and see how it turns out to get a better idea of the condition of it. Thanks again sorry for the kindergarten level question.
- Bill Hudson
- Team Cub

- Posts: 9522
- Joined: Wed Jul 26, 2006 10:50 am
- Zip Code: 44057
- Tractors Owned: 57 F-Cub - Dad & Mom's Cub
77 F-Cub - Red Long Stripe - Circle of Safety: Y
- Location: OH, Madison
Re: 51 Cub project
itpdk9 wrote:... Thanks again sorry for the kindergarten level question.
No kindergarten questions here, we all were at the beginning when we started working on Cubs. Welcome to the forum. Enjoy the ride.
Bill
-
Papa's Cub
- 10+ Years

- Posts: 339
- Joined: Wed Aug 15, 2012 8:00 am
- Zip Code: 31553
- Tractors Owned: 1966 Int'l Cub, C-2 mower 2005 Farm-Trac, 7ft Harrows and Box blade 1976 Int'l Cub, Woods 59 mower, Turn Plow, Full set of cultivators, Harrows, 174 Planter & Fertilizer unit 1953 Farmall Cub,full set of spring cultivators, wheel weights,
PTO belt pulley, snow plow and misc parts. - Circle of Safety: Y
- Location: S/E Georgia
Re: 51 Cub project
Welcome to the forum....a cub owners best friend! It sounds like your cub is a good candidate for a restoration project. It would be nice if you could document each stage with pictures. ( we like pictures) Good luck, Tom.
If you always do what you've always done -- you'll always get what you've always got!
-
itpdk9
- 5+ Years

- Posts: 35
- Joined: Fri Jan 01, 2016 8:43 pm
- Zip Code: 15101
- Location: Pittsburgh, PA
Re: 51 Cub project
I will definitely document, I just need to figure out how to put the pictures on here 
52 Ford 8n
51 Farmall Cub
13 Kubota B3200 TLB
15 Toro zeroturn ss5000
51 Farmall Cub
13 Kubota B3200 TLB
15 Toro zeroturn ss5000
-
staninlowerAL
- 10+ Years

- Posts: 4987
- Joined: Fri Oct 29, 2010 11:34 pm
- Zip Code: 36558
- Tractors Owned: Cubs: (3)'49's, (1 is for parts), (1)'57 IH Cub LoBoy w/FH, (2)154 Number Series Loboys, (1 is for parts), '76 Longstripe w/FH, Mowers: C-22, Bush Hog 412, Pennington 59, Woods RM42CF, Woods 42, assorted FCub plows, planters, discs, etc. OTHERS: '49 AC B & Ind. Sickle mower, '61 AC D12 Ser 2, '52 8N, '56 Ferguson 35 Deluxe, '47 & '49 Avery V, '53 MM BG (offset), '51 JD M (regular), '56 JD 420C, with Blade and fire plow, '85 JD 850 (Yanmar) w/72" belly mower, '76? Yanmar 2TR15 1500 & Bush Hog SQ42S-2 mower, '78? FORD Dexta, '86 FORD LGT14D & 48" Mower, (2)Cub Cadets & Mowers (MTD), (4) Sears Surburban's, other MTD mowers, Jeeps & other misc. "treasures"
- Circle of Safety: Y
- Location: AL (Southwest)
Re: 51 Cub project
viewforum.php?f=148itpdk9 wrote:..... I just need to figure out how to put the pictures on here
Take a look at the "HOW TO" FORUM, you should find information about adding attachments, etc. in the "using the forum" instructions. Stan
Stan in LA (lower AL)
USAF & Reserves, Reg ARMY, ARMY NG (AL)
USAF & Reserves, Reg ARMY, ARMY NG (AL)
-
Scrivet
- 10+ Years

- Posts: 2929
- Joined: Sun Apr 19, 2009 9:51 pm
- Zip Code: 63664
- Location: MO, Potosi
Re: 51 Cub project
Several ways to do it. One is when you hit "post reply" and the typing box opens up, at the bottom of the typing box is the "save draft" "preview" and "submit" buttons. Below that box are two tabs labeled "Options" and "Upload Attachment". Click on "Upload attachment".itpdk9 wrote:I will definitely document, I just need to figure out how to put the pictures on here
Just follow along and "chose the file". Navigate to where you have it on your computer, I like to move what ever picture I want to the desktop to make it easier to find and know it's the one I intended and not my great niece's second birthday party.
Then "add file".
Back in the text typing box; move your blinking text cursor to where you want the picture and click "place inline".
There are some size requirements on the pictures so you may get a message about that. If so, you need to use a photo editing program to save it in a smaller file size/different format or take lower resolution photos if your camera is adjustable. Some of the photo editing programs have a "best for email" or "best for web" selection when you make a copy of the picture.
-
itpdk9
- 5+ Years

- Posts: 35
- Joined: Fri Jan 01, 2016 8:43 pm
- Zip Code: 15101
- Location: Pittsburgh, PA
Re: 51 Cub project
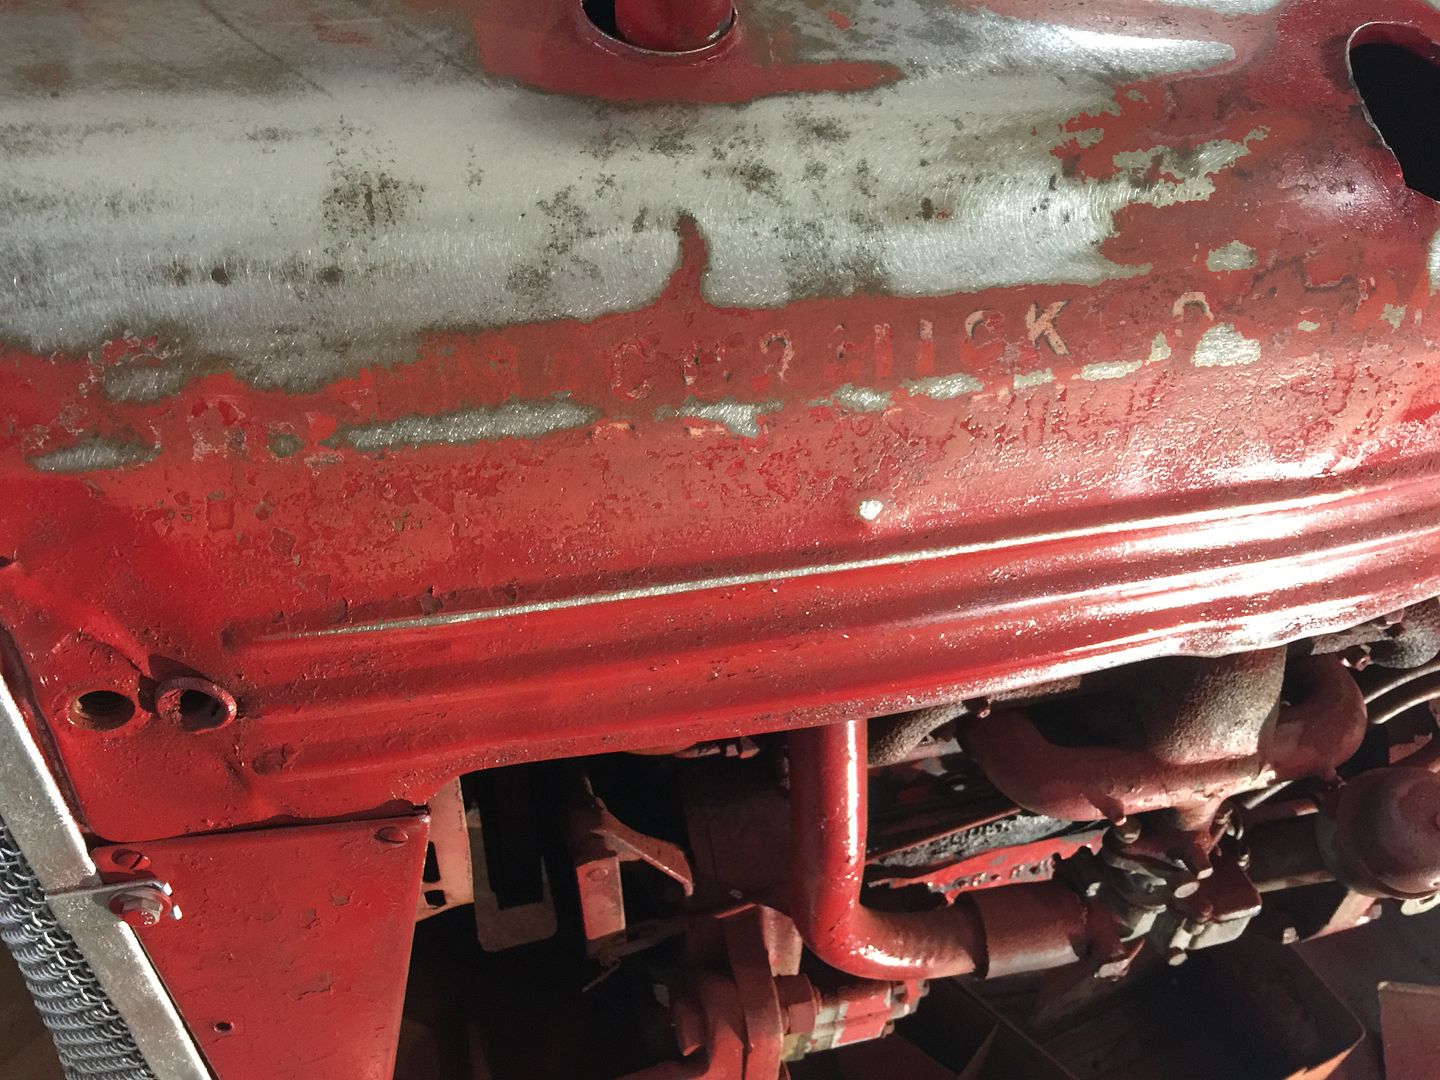
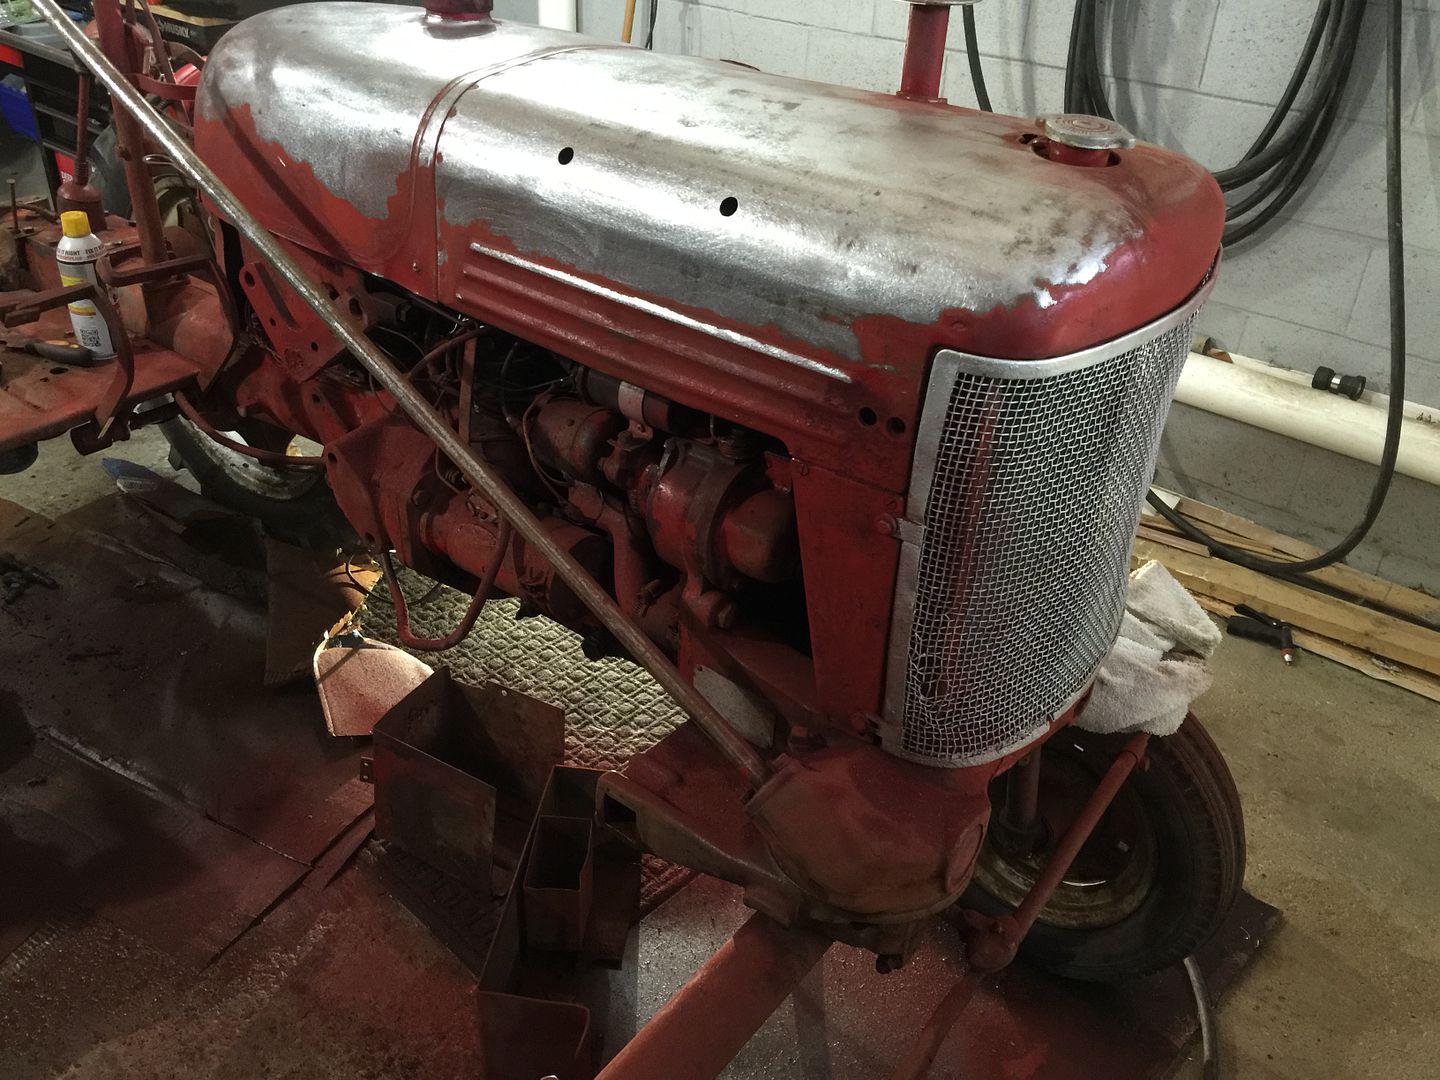
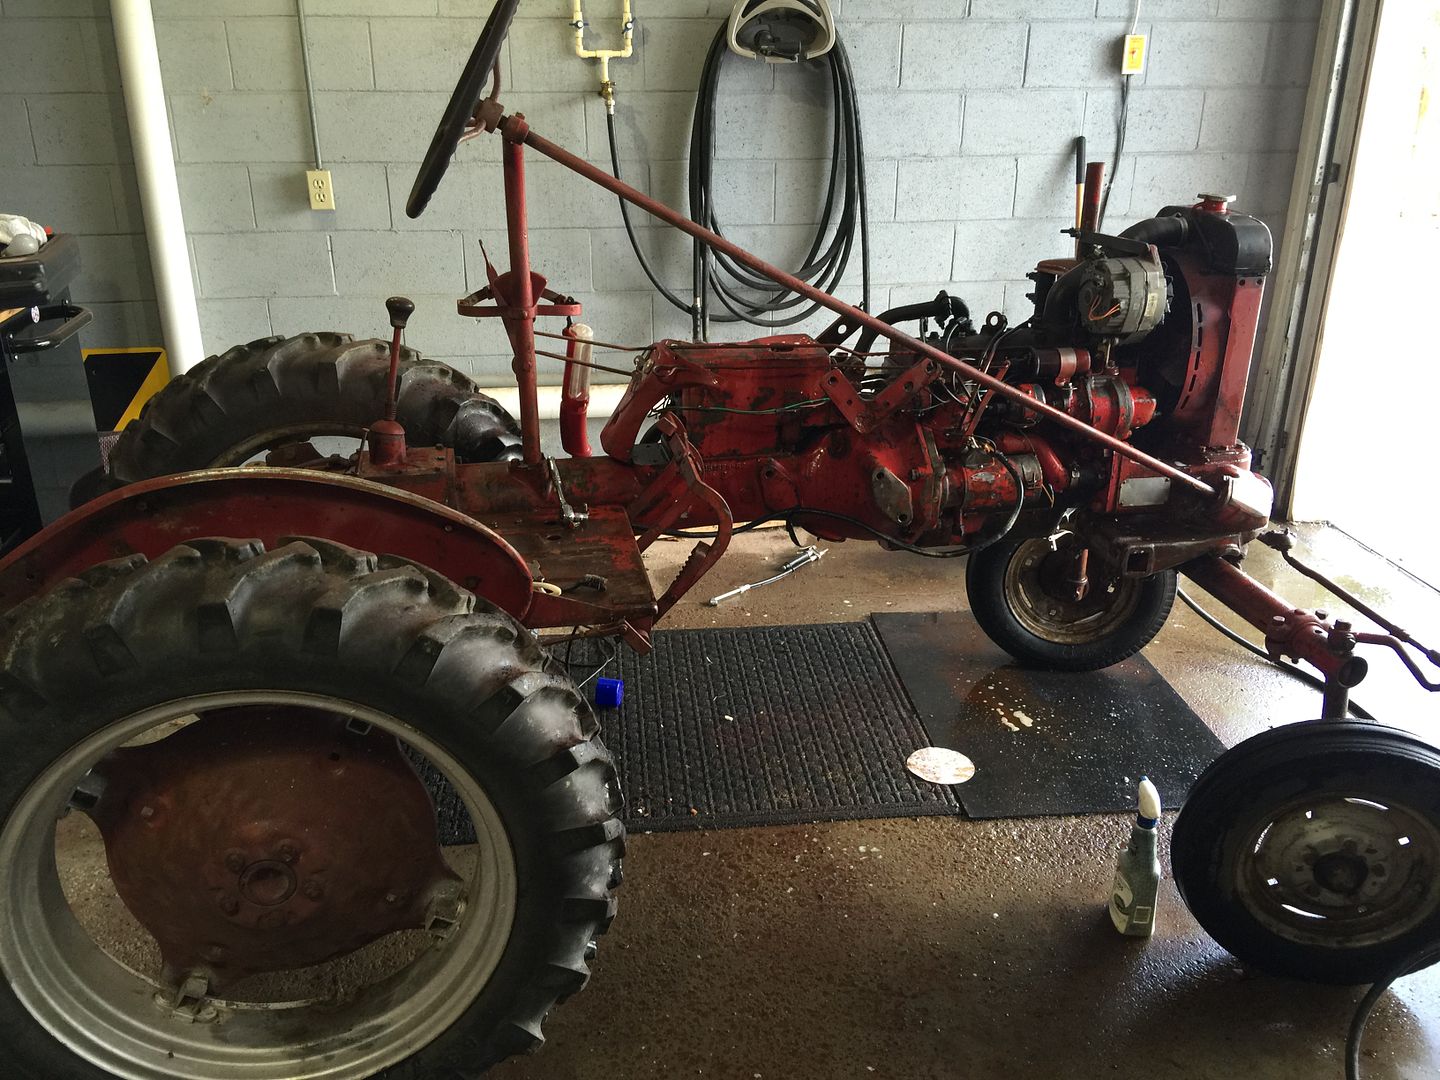
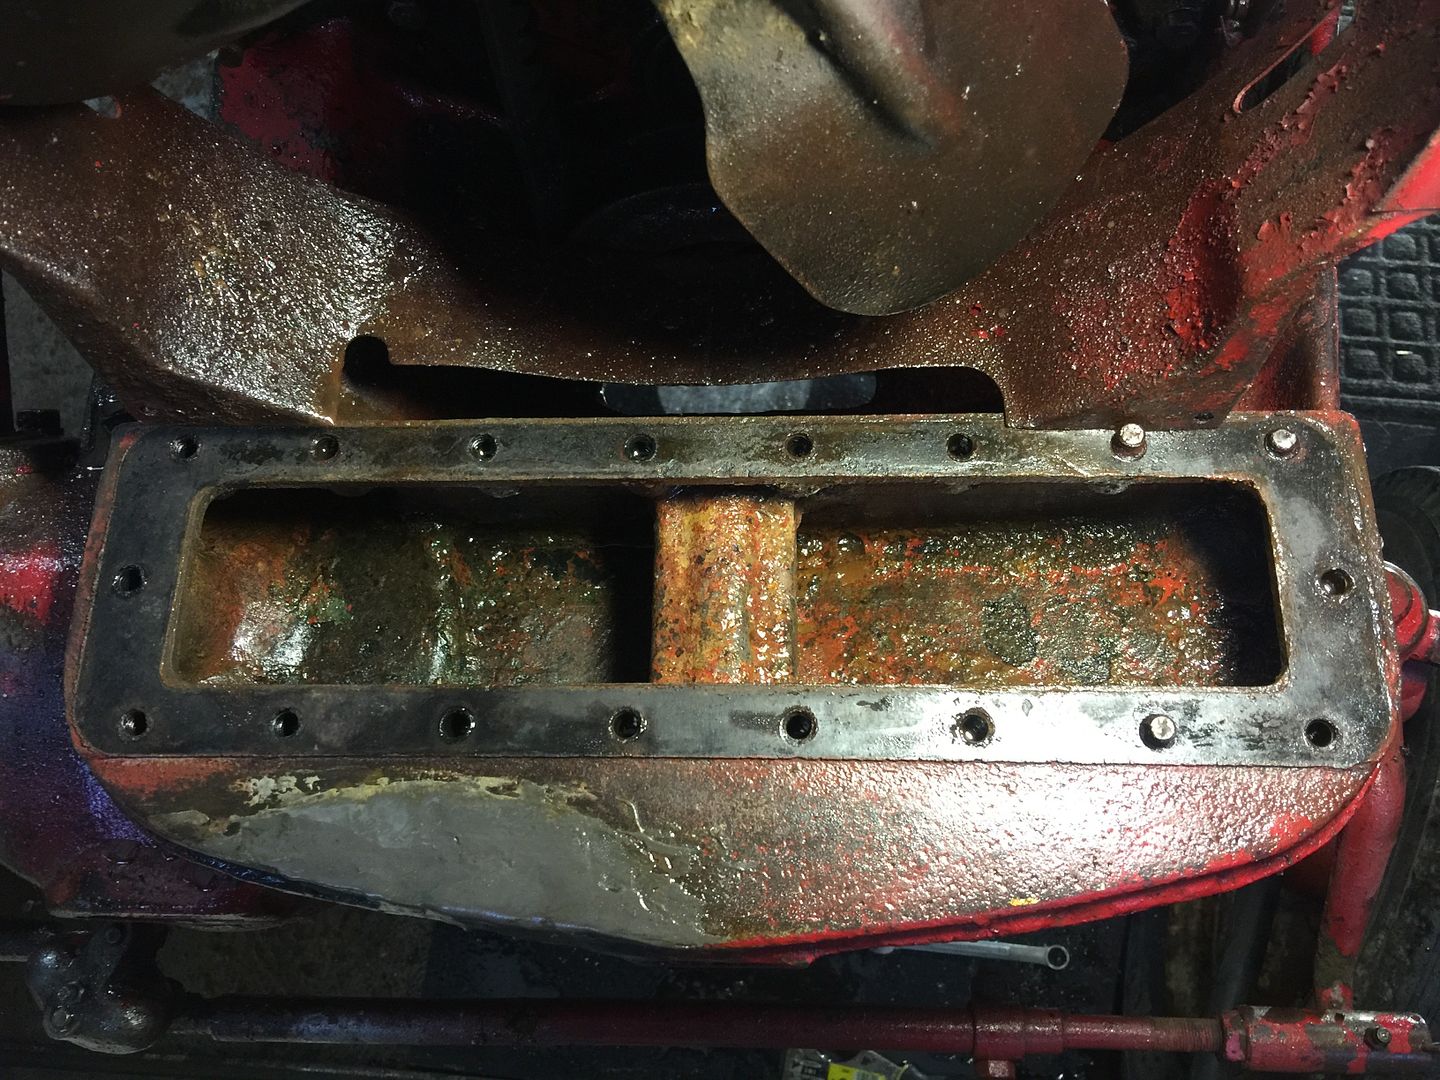
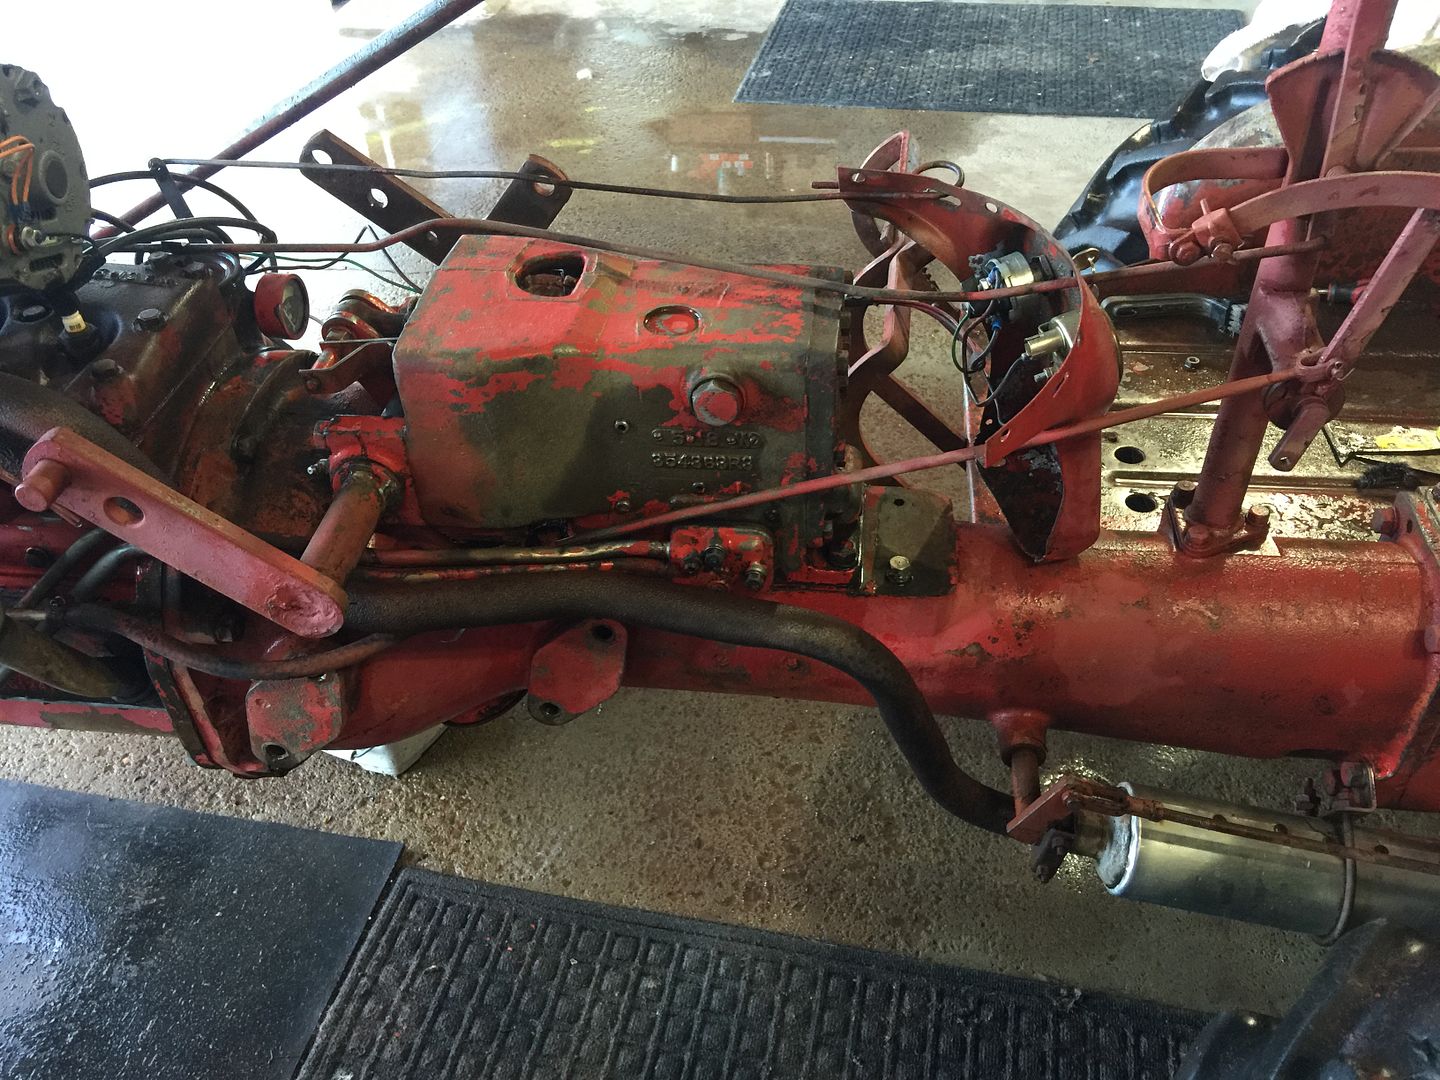
just wanted to update here, going to work on adding the pictures here shortly. I worked all day on sunday removing 60 plus years of grease and gunk. Been degreasing and wire brushing and I am getting there. I just made my first purchase from Cub sponsor TM Tractor for a bunch of gasket and some other stuff, so hopefully it will be here soon. I ordered my paint should be here tomorrow, I went with the Valspar IH Red, and rustoleum rust primer. I have been removing parts as I go, fenders, hood, seat, etc. and I am having fun doing it. I just want to thank you all for the knowledge. I have been reading non stop and taking in so much. Thank you again and I am going to work on the pictures now.
52 Ford 8n
51 Farmall Cub
13 Kubota B3200 TLB
15 Toro zeroturn ss5000
51 Farmall Cub
13 Kubota B3200 TLB
15 Toro zeroturn ss5000
-
itpdk9
- 5+ Years

- Posts: 35
- Joined: Fri Jan 01, 2016 8:43 pm
- Zip Code: 15101
- Location: Pittsburgh, PA
- Glen
- 10+ Years

- Posts: 6139
- Joined: Mon Mar 19, 2012 7:33 pm
- Zip Code: 00000
- Tractors Owned: 1956 Farmall Cub with Fast Hitch, F-11 plow, Disc, Cultivator, Cub-22 mower
- Circle of Safety: Y
- Location: Wa.
Re: 51 Cub project
Hi,
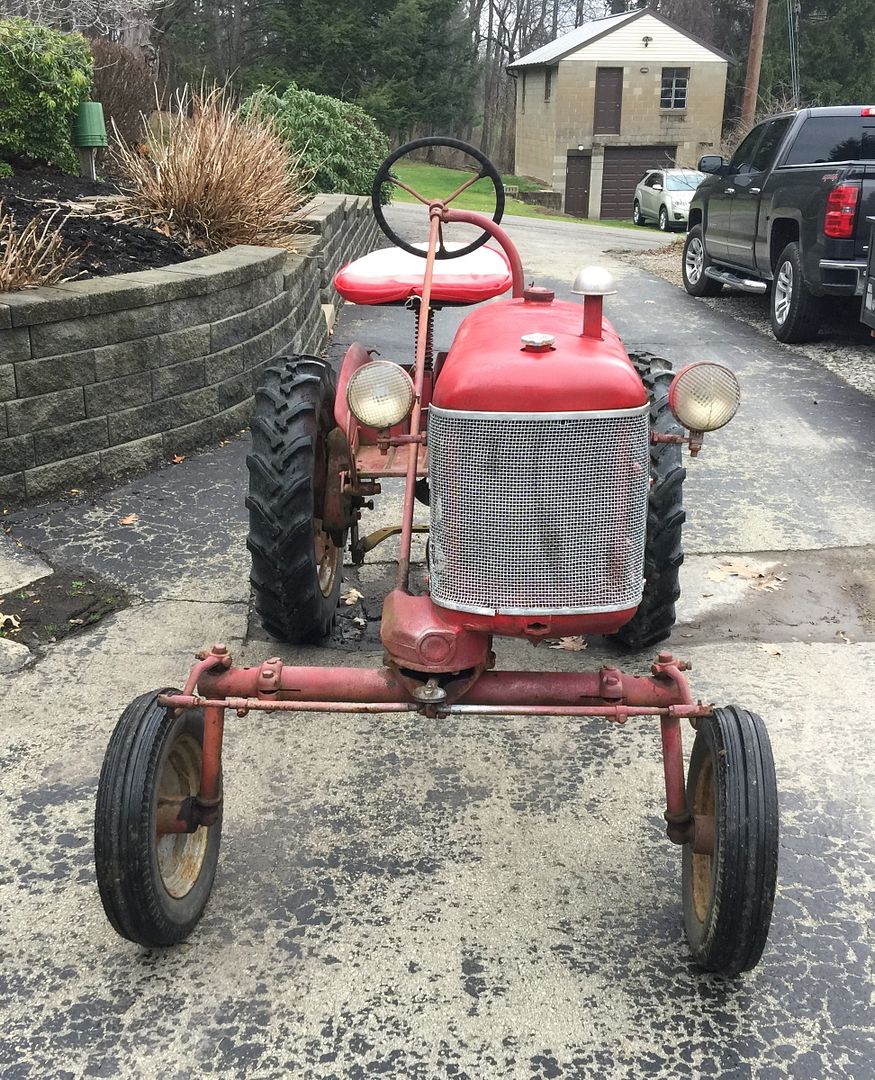
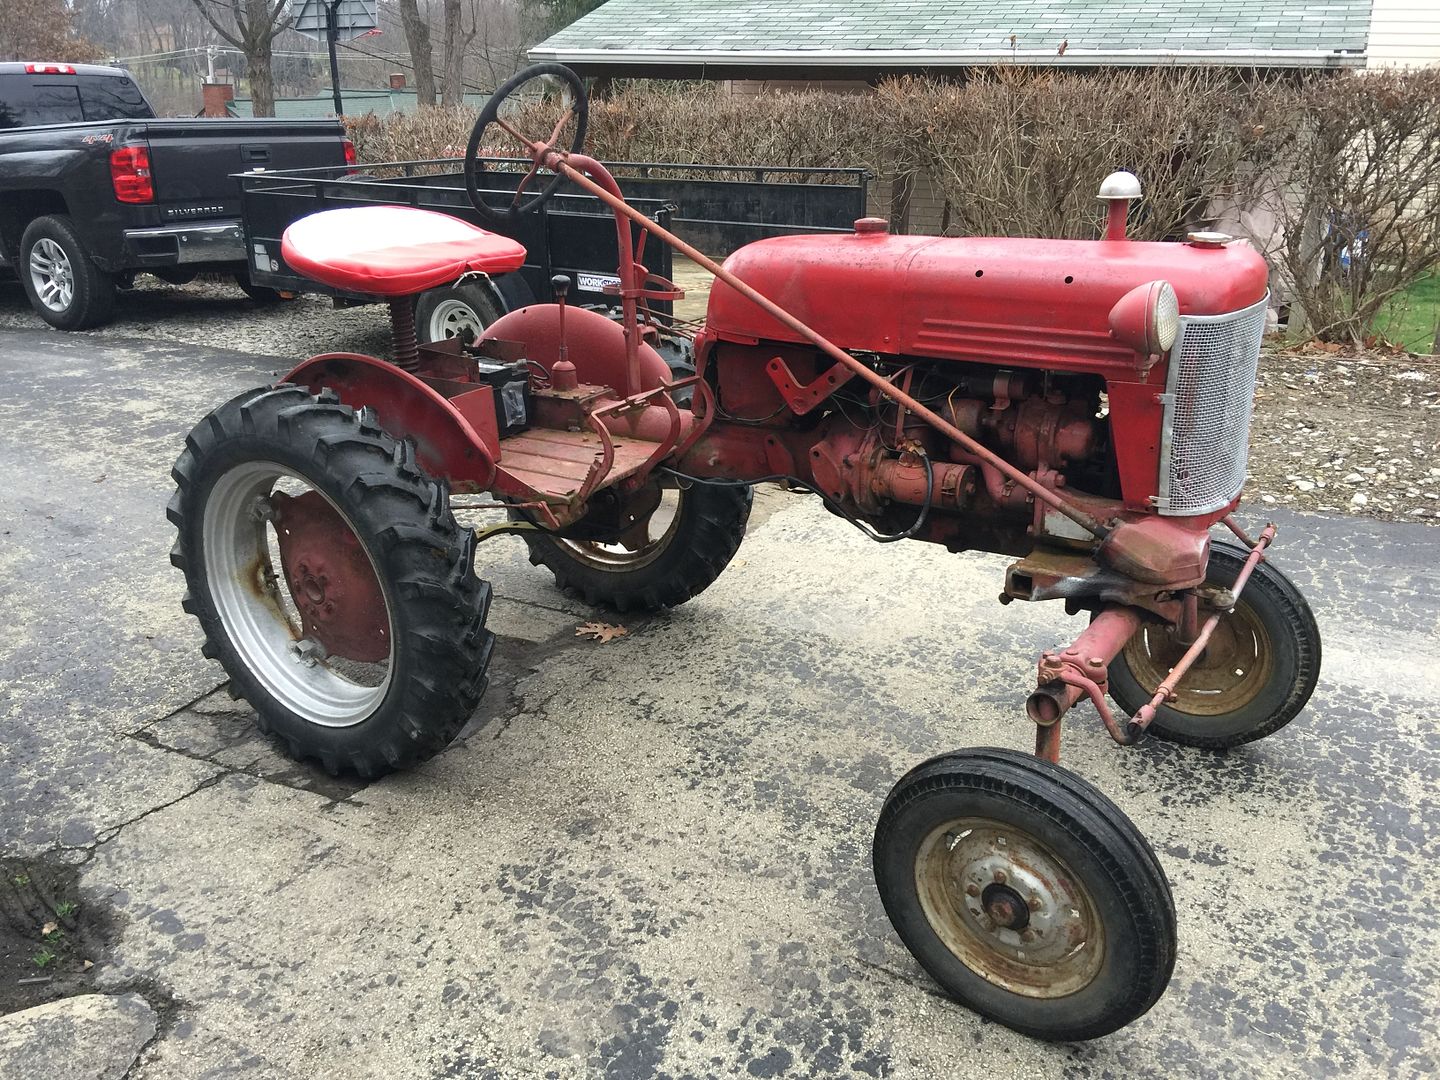
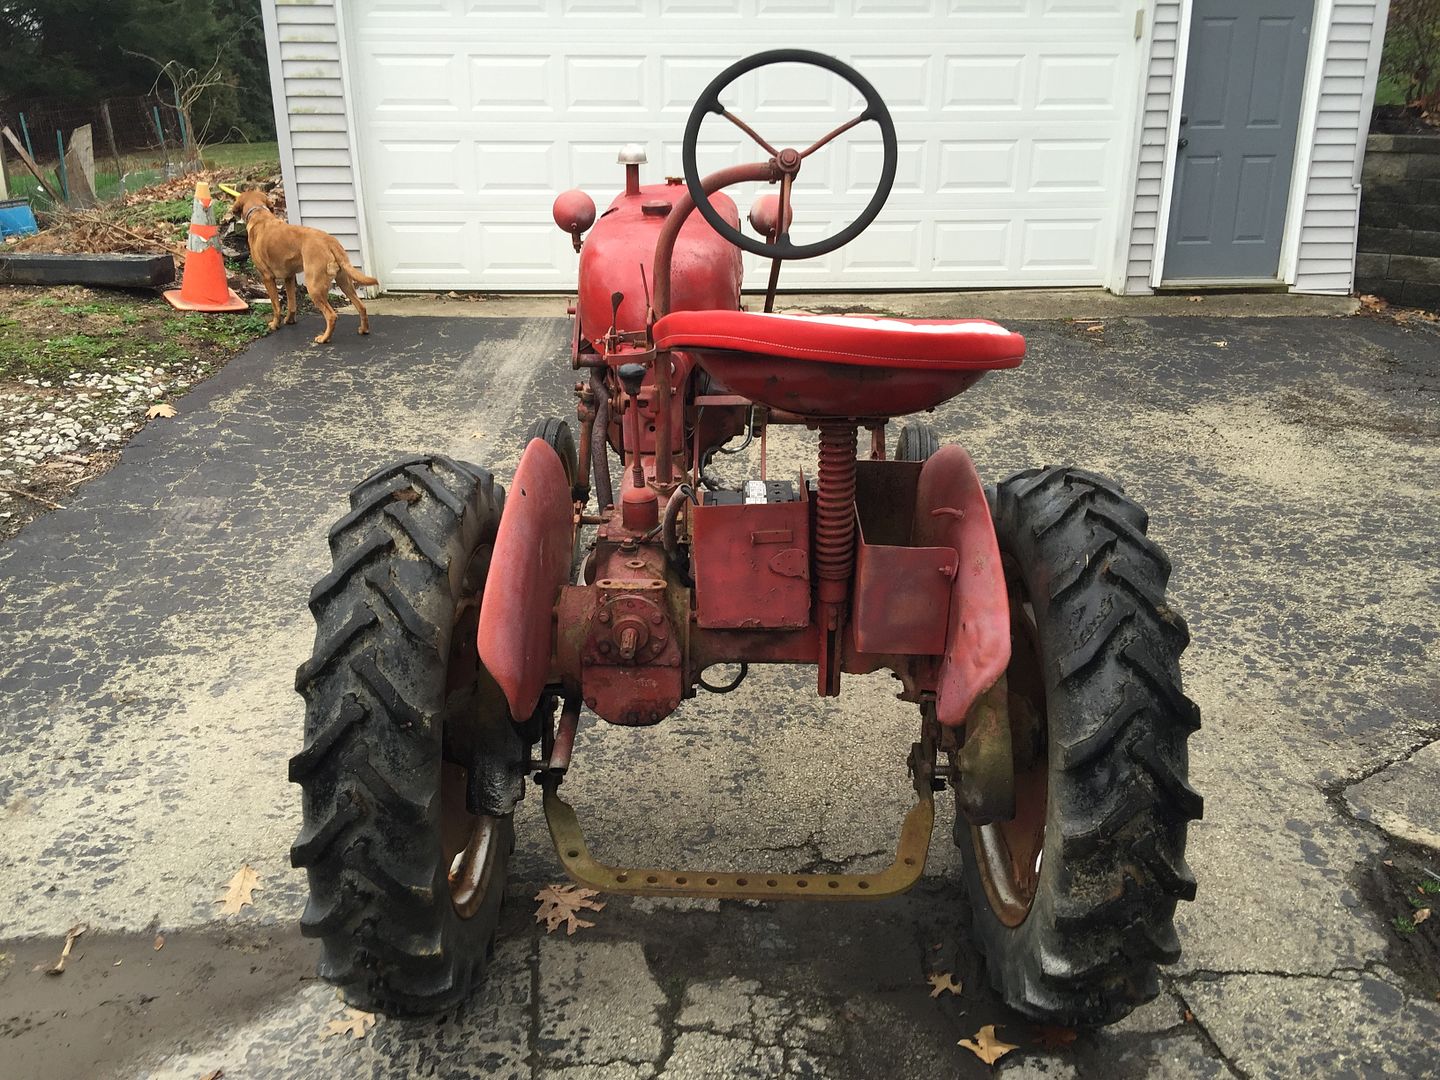
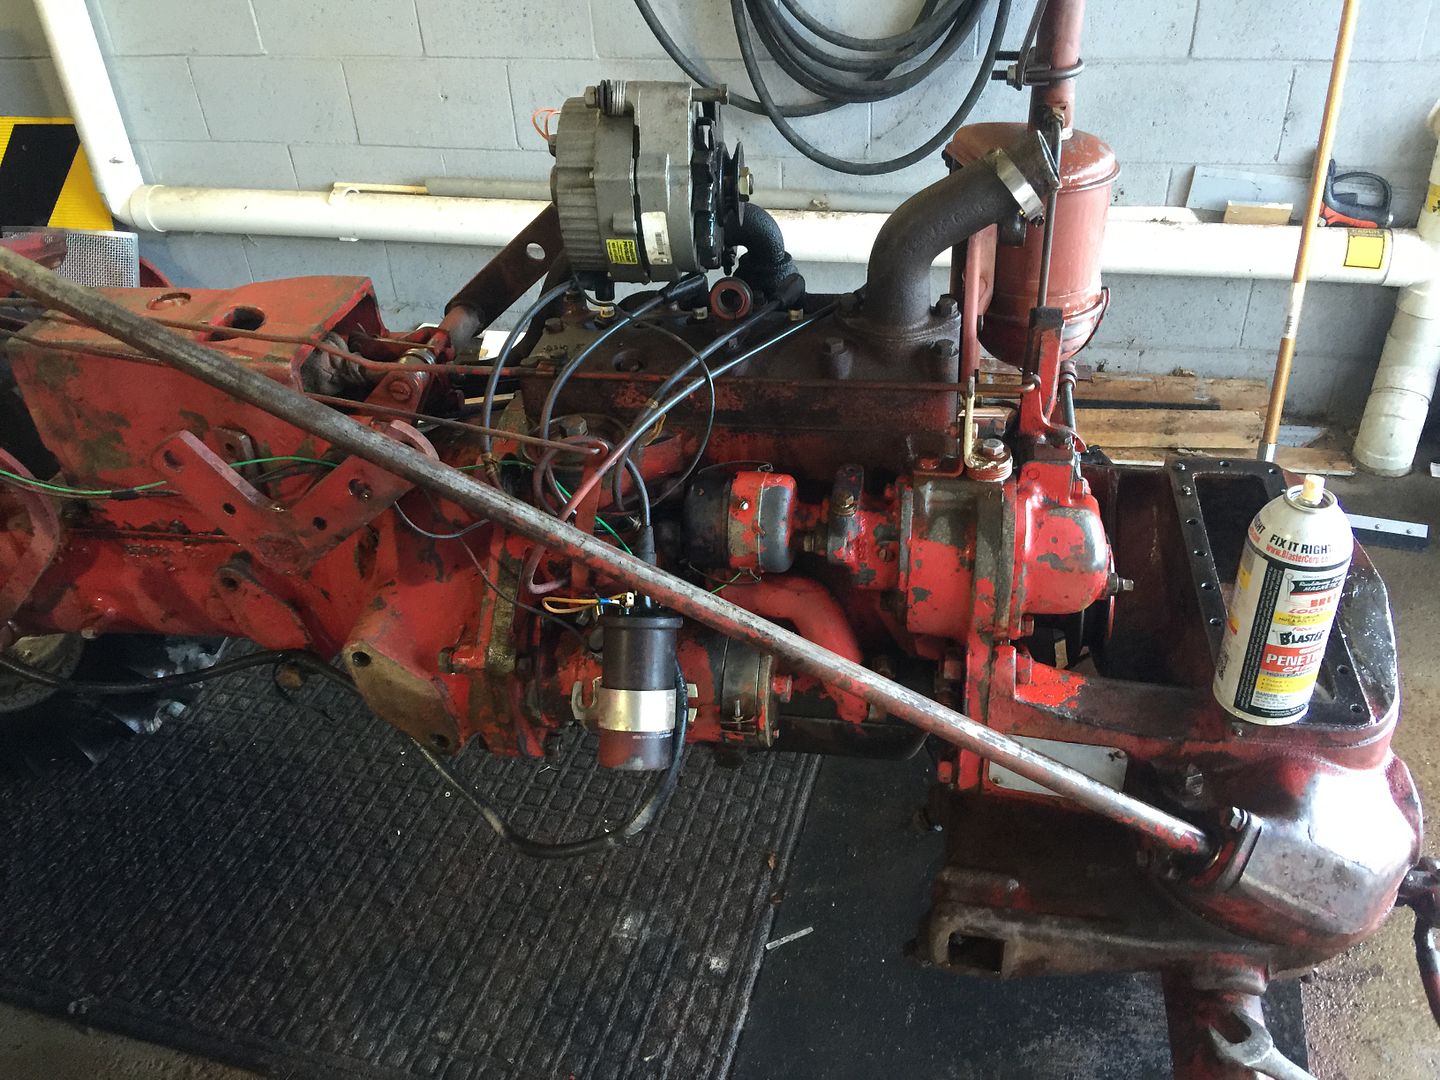
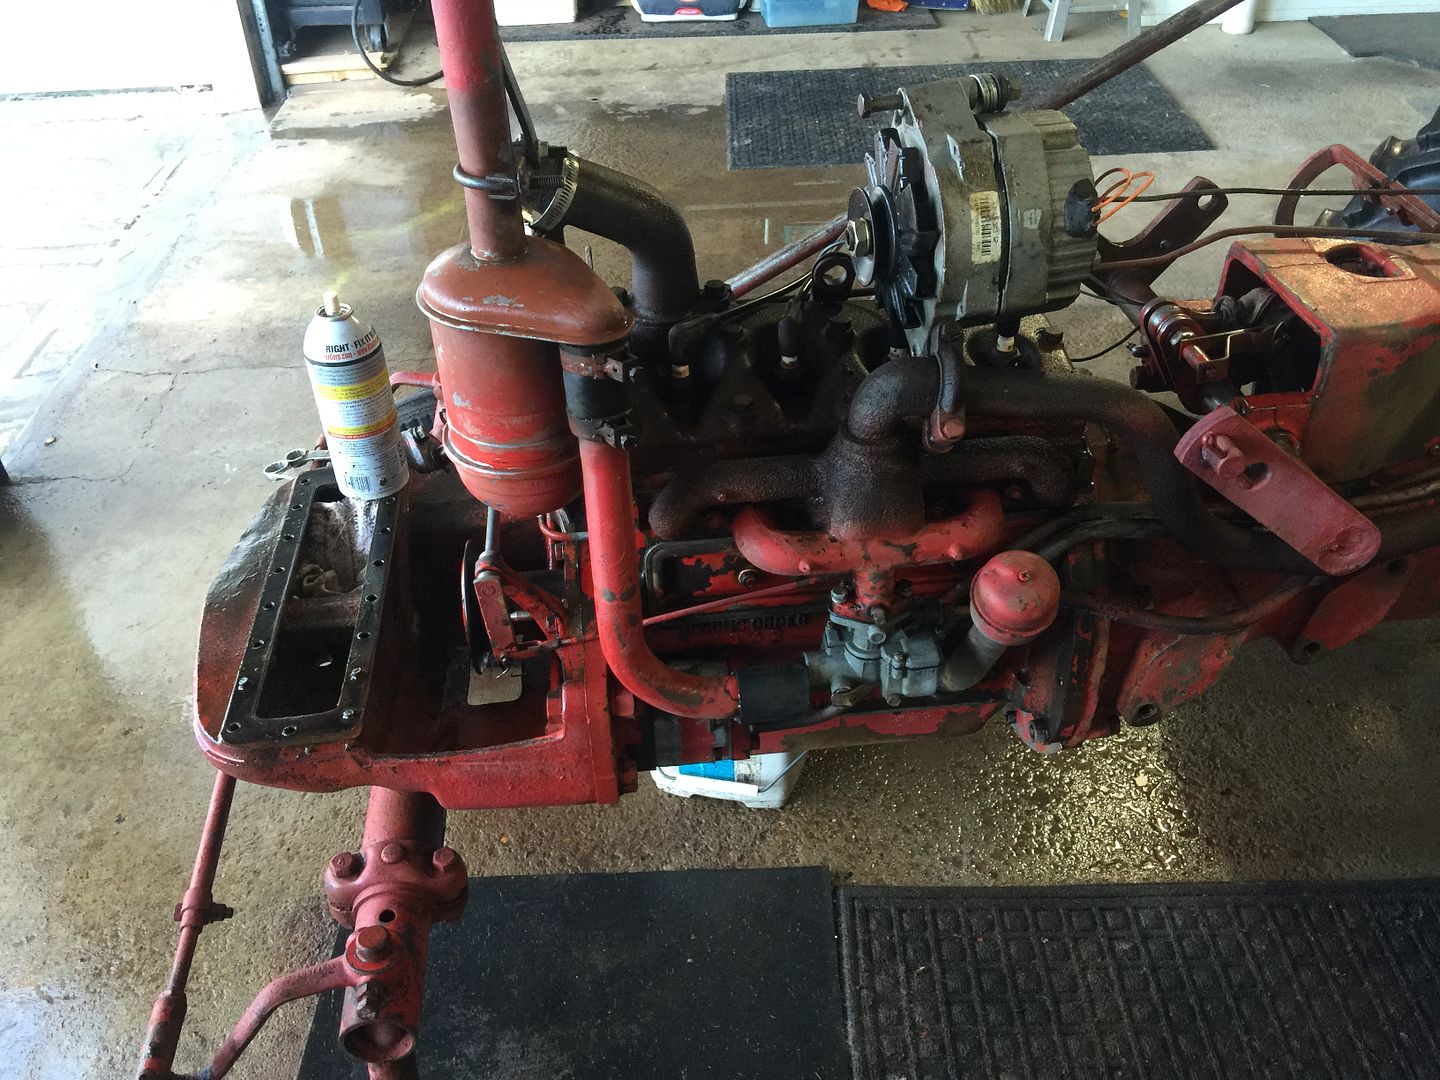
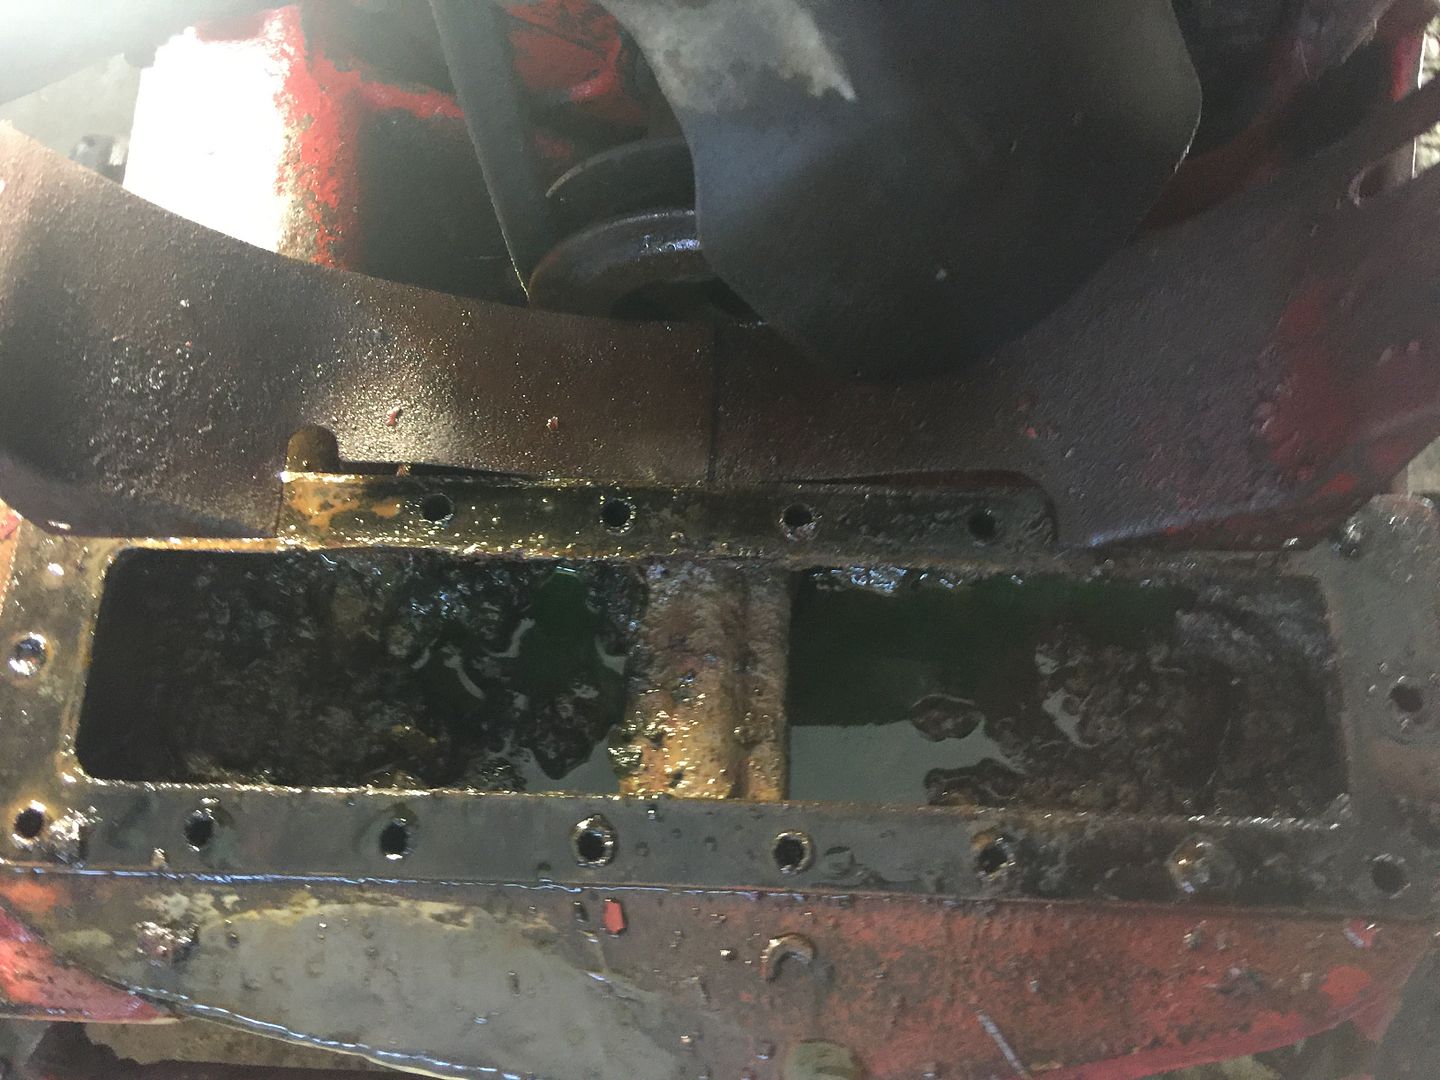
You posted lots of pictures, good luck with your Cub restoration.
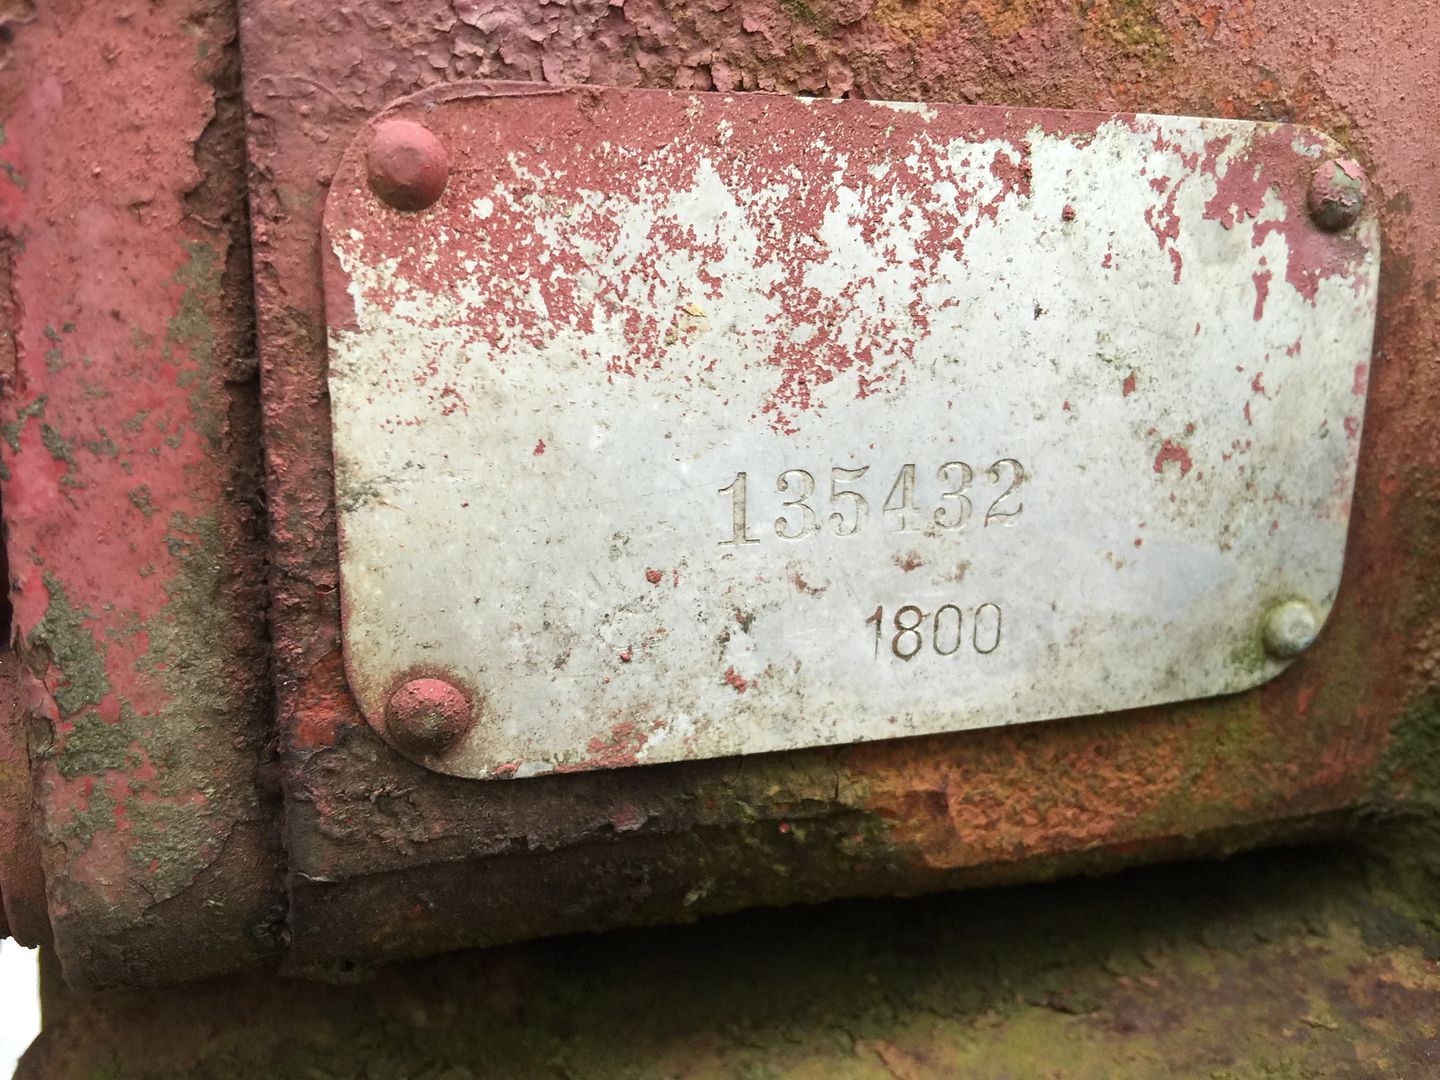
I see in the pics the Cub has the long style of oil filler tube. A 1951 Cub came with the short style of tube. You could look at the engine serial number and see if the engine has been replaced. Below is a page from the cub owner's manual showing where the serial number is, it also shows the short tube. The number can be a little hard to see, it can be partly behind the Touch Control tubes. Use a light to see it.
Someone could have just replaced the tube with the longer one, and it has the original engine, or the engine could have been replaced. The dip stick should match the tube for length, whichever one it has. They started using the longer tube in about 1957.
If the engine is original, it will be a few hundred numbers above the tractor serial number, if the engine has been replaced with a 1957 or newer engine, the number will be thousands higher than the tractor number.
http://www.cleancomputes.com/Cub/Cub%20 ... age-02.jpg
-
itpdk9
- 5+ Years

- Posts: 35
- Joined: Fri Jan 01, 2016 8:43 pm
- Zip Code: 15101
- Location: Pittsburgh, PA
Re: 51 Cub project
Thanks for the heads up Glen. I just checked the stamped serial number is 127429 so I guess from what you said the previous owner replaced the tube with the longer tube and dip stick. Interesting. Learning something new with each day. Thanks again.
52 Ford 8n
51 Farmall Cub
13 Kubota B3200 TLB
15 Toro zeroturn ss5000
51 Farmall Cub
13 Kubota B3200 TLB
15 Toro zeroturn ss5000
- Glen
- 10+ Years

- Posts: 6139
- Joined: Mon Mar 19, 2012 7:33 pm
- Zip Code: 00000
- Tractors Owned: 1956 Farmall Cub with Fast Hitch, F-11 plow, Disc, Cultivator, Cub-22 mower
- Circle of Safety: Y
- Location: Wa.
Re: 51 Cub project
Hi,
Yes, what you said sounds right, the engine is from the year of the tractor, it might be the original engine, but sometimes it's hard to tell, if it was replaced and someone got an engine from near the same serial number as it had before. I'm not saying your engine was replaced, sometimes it's hard tell after 60 + years.
With some research at Raymond Durban's data base, you can see the difference in numbers between the tractor and engine serial numbers. If yours is about the same difference, it's probably original.
Also the date codes on the castings identify when the parts were made. Here is info from TM Tractor telling how to read them, and where they are. The year is a letter. Thought I'd put this here for anyone that wants to look at it.
http://www.tmtractor.com/id/id_004.htm
http://www.tmtractor.com/id/castdate_loc.htm
- bob in CT
- Team Cub Mentor

- Posts: 6018
- Joined: Thu Jun 07, 2007 9:34 am
- Zip Code: 06040
- Tractors Owned: 77 Cub (red); 74 Cub; 52 Cub; 50 Cub ( post-demo)
- Circle of Safety: Y
- Location: CT, Manchester
Re: 51 Cub project
You are well underway, but some have had tractors soda blasted with great results, especially if paint removal is the primary job as it is not great for tightly bound rust. No worries about grit in the bearings, grease, rubber seals, and even glass. I had a hood done that way. It just can be expensive, but it was a lot higher when it first became popular.
Keep in mind that the old paint has lead so it is not something you want to expose young kids to, especially. There is no turning back the clock on lead exposure. Wire brush wires have a way of getting into the laundry too, and settling into your wife's most sensitive garments. Forewarned is forearmed on that one. Leather welding aprons are good to shed wires. I had one embed right into one of my toes that a surgeon had to remove. I must not have had my boots laced up tight. Sucker was almost a half inch long.
Keep in mind that the old paint has lead so it is not something you want to expose young kids to, especially. There is no turning back the clock on lead exposure. Wire brush wires have a way of getting into the laundry too, and settling into your wife's most sensitive garments. Forewarned is forearmed on that one. Leather welding aprons are good to shed wires. I had one embed right into one of my toes that a surgeon had to remove. I must not have had my boots laced up tight. Sucker was almost a half inch long.
- ricky racer
- 10+ Years

- Posts: 6334
- Joined: Wed Sep 12, 2007 8:40 pm
- Zip Code: 49120
- Circle of Safety: Y
- Location: Niles / Buchanan, Michigan
Re: 51 Cub project
Welcome! Nice looking Cub. It should make a great project. Good choice on the paint and primer. It should yeild good results. Take your time prepping, repairing anything needing attention along the way. Dents can be hammered out and filler added to smooth out inperfections in the sheet metal. Wiring can be tidyed up. Generally, the further down you disassemble the tractor, the easier it is clean and paint it. I'm anxious to follow your progress on this Cub. Keep the pictures coming and good luck.
1929 Farmall Regular
1935 John Deere B
1937 John Deere A
1941 John Deere H
1952 John Deere B
1953 Farmall Cub
1935 John Deere B
1937 John Deere A
1941 John Deere H
1952 John Deere B
1953 Farmall Cub
Who is online
Users browsing this forum: Majestic-12 [Bot] and 57 guests


